
Toggle switch mounting thread galling should be considered when a mounting nut binds and the mating thread surfaces show evidence of adhesive damage. Binding alone does not prove galling: an incorrect thread, contamination, a damaged starting thread or an unsuitable panel arrangement can also prevent assembly. Stop adding force, preserve the switch and nut together, and check their identities against the approved drawing. For a buyer or assembly supervisor, the priority is to establish why the joint stopped moving before accepting a replacement nut, a different lubricant or a higher tightening setting as the solution.
Distinguish mounting resistance from actuator effort
The mounting thread secures the switch to the panel; the lever operates the electrical mechanism. Resistance at one does not measure the condition of the other. Describe the complaint specifically: a nut stopped partway down the bushing, the body turned during installation, or the lever became difficult to operate after mounting. Record when the change appeared and which part was being held or turned.
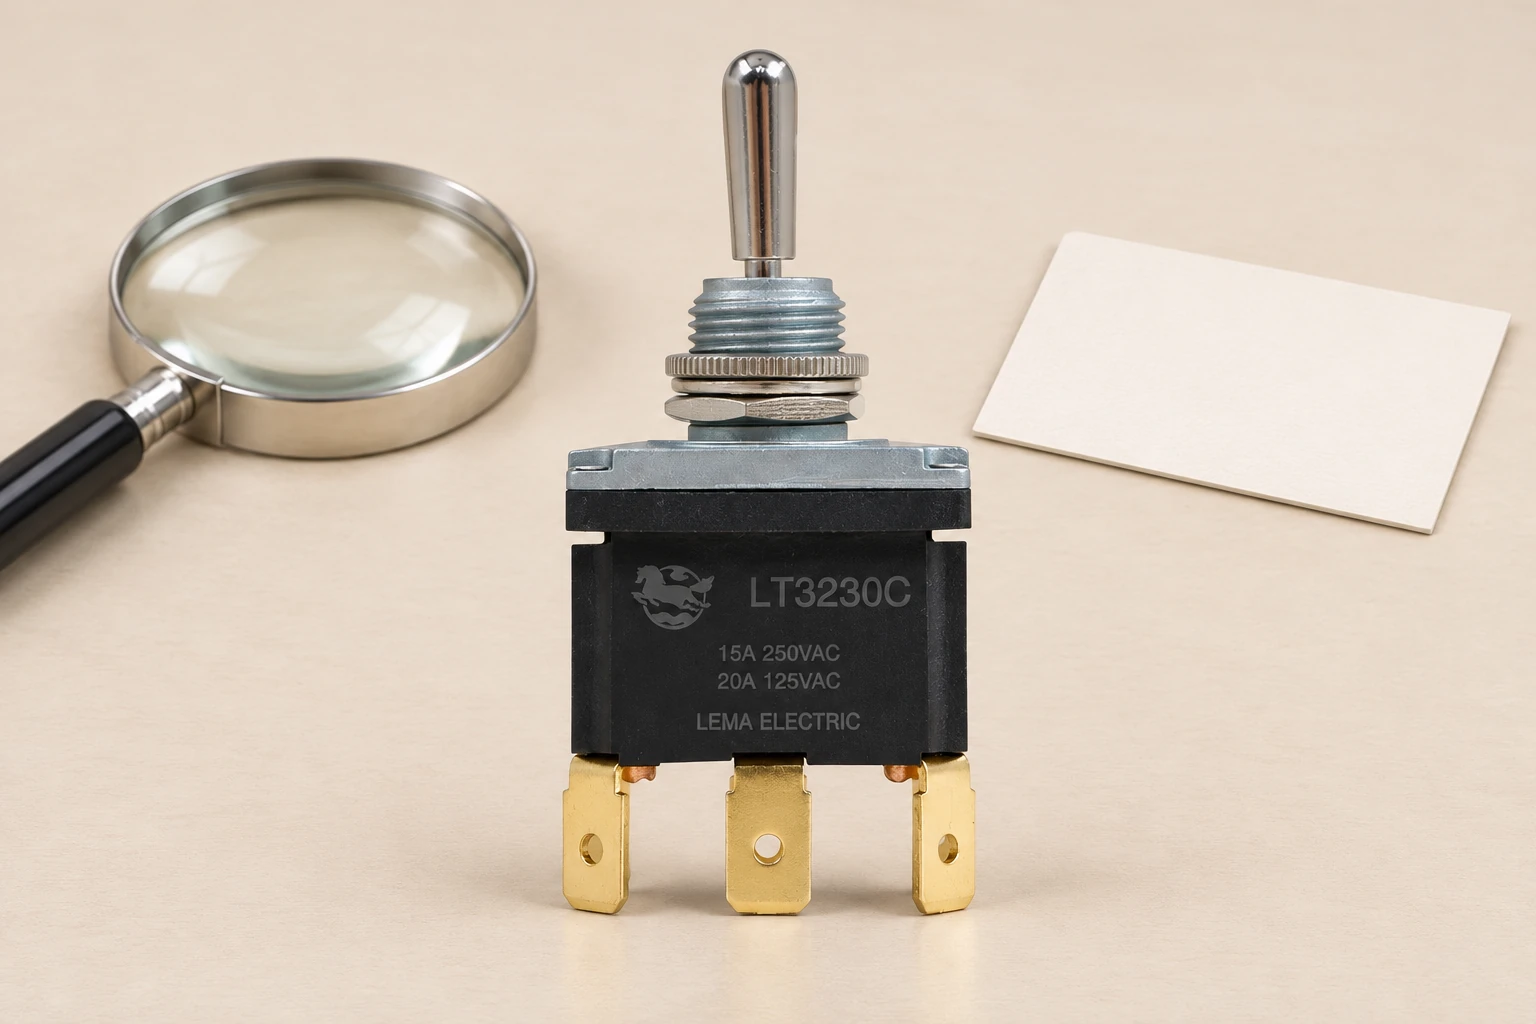
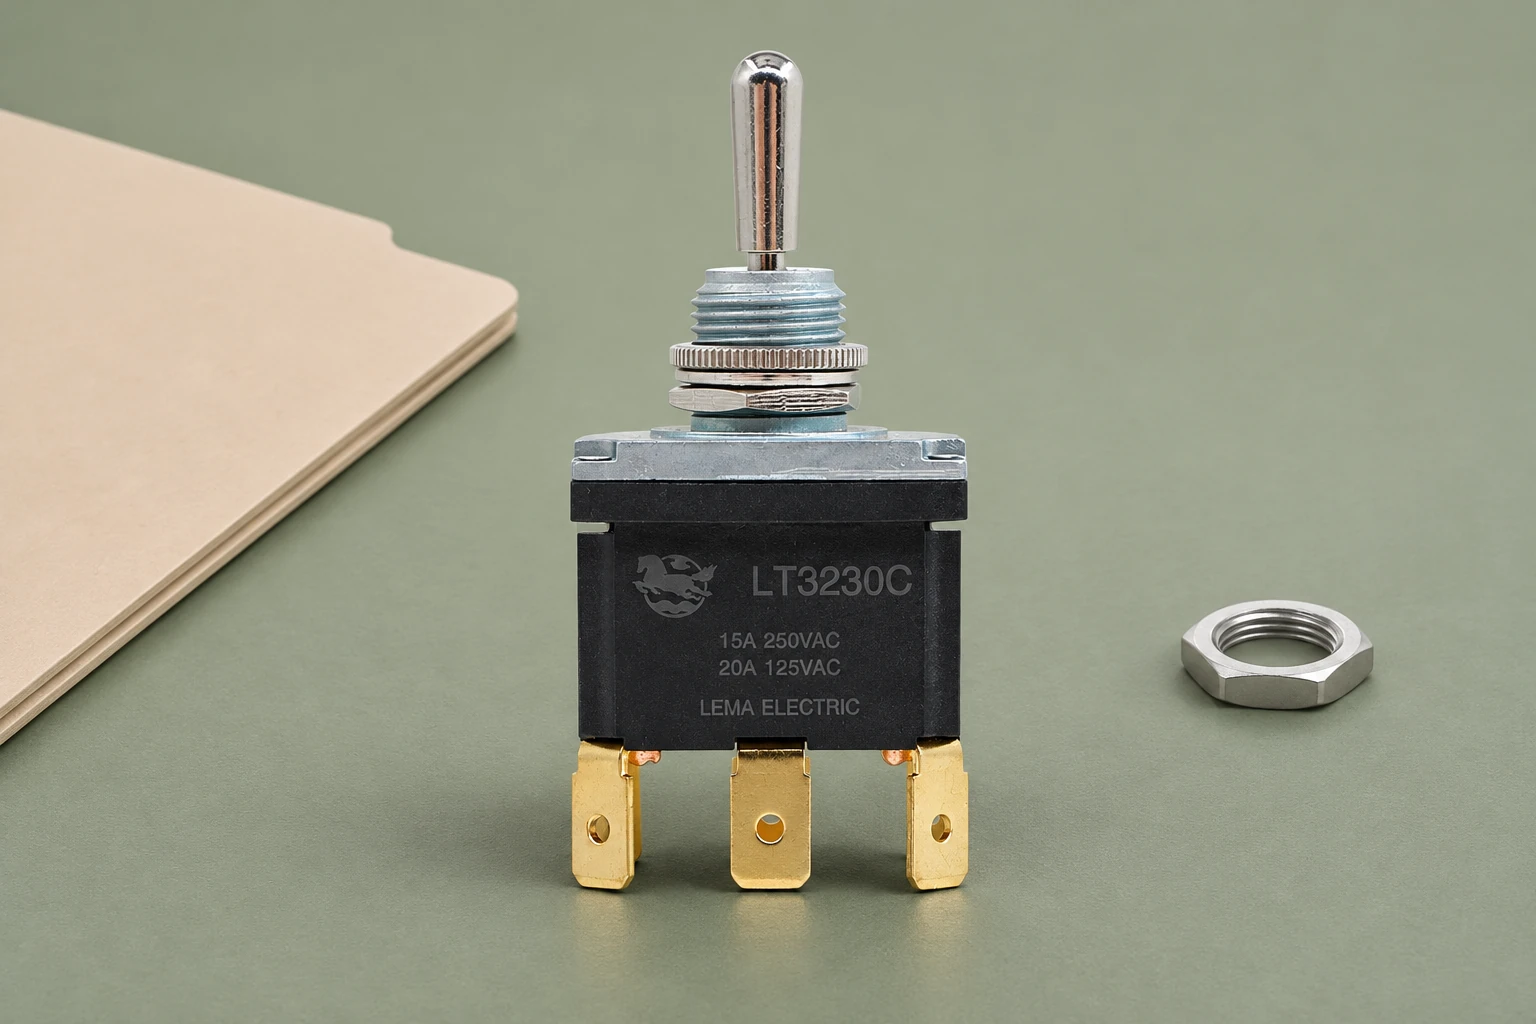
O LT3230C toggle switch provides a real component reference for this discussion. Its visible threaded mounting arrangement does not establish the metallurgy, surface treatment or approved assembly compound of every delivered variant. Confirm those attributes through applicable supplier documentation. Do not identify a shiny bushing as stainless steel, or assume that the mounting nut has the same material because the colors appear similar.
Utilize toggle switch panel mounting guide for the wider panel arrangement. This article addresses a narrower problem: investigating binding and possible adhesive thread damage. Correct hole size and a suitable panel stack remain necessary, but neither proves that a damaged mating pair is fit for reuse.
Understand what galling means without diagnosing by feel
TWI’s explanation of galling describes seizure associated with adhesive interaction between contacting metal surfaces. Continued tightening can make a seized threaded joint fail. This general mechanism explains why escalating force is an unsuitable diagnostic method. It does not establish that the materials in a particular toggle-switch mounting pair are susceptible, or that a difficult assembly has experienced that mechanism.
Record how resistance developed and what inspection actually shows. A nut that will not start, a nut that turns and then stops, and a nut that reaches the panel but cannot achieve the specified assembly condition present different questions. Surface examination and dimensional checks can help separate them. Keep the diagnosis provisional until the available evidence supports it.
Do not use a tool to chase a reluctant nut repeatedly along the bushing as an informal fit test. That can create additional damage and change the evidence. Once a binding condition is recognized, follow an approved removal or investigation method. If the pair cannot be separated safely without damaging the switch, refer it to the responsible engineer or supplier rather than improvising a repair near electrical terminals.
Preserve the complete mounting stack
Record the nut, washers, locating features, panel, bushing and switch orientation as one assembly. Include the order of parts and the side from which the nut was installed. Photograph the condition before disassembly, where practical after the equipment is made safe. Identify any missing drawing detail rather than filling it with an assumption based on a neighboring switch.
Check whether the nut came with the switch or from a separate stock bin. Packaging, purchase order and lot records can reveal an unintended substitution that is invisible in a photograph. Keep unused nuts and switches from the same supply batches available for controlled inspection. Do not mix returned samples with new stock before the investigation has established what can be released.
The panel stack matters because the nut may encounter an obstruction or an unsuitable engagement condition before it produces the intended clamp. Examine the approved arrangement for clearance, seating and access. Avoid compensating for a dimensional mismatch by removing a specified washer or adding an unapproved spacer. Such a change can alter retention, orientation or the relationship between the control and its label.
Use a binding investigation table
The table below organizes qualitative checks. It does not provide a universal mounting torque, thread size or salvage procedure. Obtain those details for the exact component and panel arrangement. The purpose is to identify the next evidence request before applying more force.
| Finding | Provas a recolher | Next review |
|---|---|---|
| Nut will not start | Part identity and starting-thread condition | Verify thread compatibility before assembly |
| Resistance rises partway | Sequence, unused samples and surface condition | Assess damage and possible adhesive interaction |
| Nut reaches an obstruction | Panel stack and available engagement | Compare the complete arrangement with drawing |
| Compound was added | Product, application and previous instruction | Review compatibility and tightening method |
| Body rotated | Installation history and conductor condition | Assess the complete switch before release |
Use suitable inspection equipment and competent personnel for the drawing requirements. Where a thread gauge or dimensional inspection is needed, record its identity and the checked feature. A visual comparison between two nuts is not a substitute for verifying the specified thread. Likewise, a nut that fits a separate test bolt has not necessarily been shown suitable for the switch’s bushing and approved installation.
A supplier may need unused samples to distinguish an incoming condition from damage introduced during assembly. Preserve that distinction in the sample list. Clearly label a pair that was forced after binding, and retain the operator’s account of the sequence. This is more useful than presenting every removed part as an untouched example of the original fault.
Why adding lubricant is an engineering change
A lubricant can change how applied turning effort relates to joint loading. The historical NASA threaded fastening systems standard, revision A with Change 1 discusses the importance of specifying assembly conditions and lubricant use. Its aerospace requirements are not a mounting instruction for a LEMA toggle switch; the transferable point is that a torque instruction and surface condition must be considered together.
Do not keep the same tightening setting merely because a new compound makes the nut turn more easily. Ask the supplier or responsible engineer to approve the compound, application location, amount and associated installation instruction. Include any restrictions concerning migration toward plastic parts, seals, contacts or the panel finish. A generic anti-seize recommendation does not settle those compatibility questions.
Record whether the delivered mounting parts are intended for dry assembly or a controlled supplied treatment. Additional cleaning can also change that condition. If the assembly instruction is silent, identify the missing information and obtain a response before establishing a repeat production process. Do not translate a general fastener table into a component-specific setting without an applicable basis.
Avoid changing materials by appearance
Substituting a nut because it looks stronger, has a different color or is described as stainless can introduce new questions. Confirm thread compatibility, usable engagement, dimensions, material, coating and the intended environment. The replacement must also allow the approved installation method and access. A mechanically convenient nut may still be unsuitable for the complete panel assembly.
Dissimilar materials require their own compatibility review where relevant. Corrosion resistance and resistance to adhesive damage are not interchangeable approvals. A successful bench installation on one sample does not establish long-term suitability in the intended humidity, cleaning or temperature conditions. Ask for evidence tied to the proposed combination instead of treating a material category as a universal improvement.
Keep a revised nut or bushing under a controlled part reference. If more than one mounting configuration is acceptable, document which instruction applies to each. Otherwise an approved trial arrangement can quietly become mixed with the previous hardware in production, making future fault investigation and purchasing decisions harder.
Assess collateral effects before reusing the switch
An installation tool can transmit loads beyond the mounting thread. If the body rotated, inspect the resulting conductor condition and terminal arrangement through the equipment’s approved procedure. If the bushing or housing was damaged, a free-moving replacement nut does not establish that the switch remains suitable. Refer the entire component condition for disposition.
Do not cut new threads, file damaged surfaces or remove debris inside the assembly as a routine production repair without approval. Such work can alter geometry, finish and cleanliness. A recovered assembly that operates once may still have an undocumented retention or electrical condition. Distinguish a diagnostic sample from a component authorized to return to service.
O mounting nut tightening and rotation guide covers normal assembly control. Use it after the cause of binding is addressed, not as a reason to tighten through an abnormal condition. Keep inspection evidence, replacement decisions and the revised instruction together so the original issue remains understandable after the equipment is restored.
Validate the correction with production conditions
Describe the suspected cause and the proposed correction separately. For example, a mixed nut supply is a hypothesis until identification and fit evidence support it. The correction might involve stock separation and controlled part identity rather than a new material. A damaged starting thread might require a handling change. Avoid selecting an expensive hardware modification before the evidence defines the problem.
Plan verification using the actual panel stack, approved tools and controlled assembly method. Include service removal or repeated installation only where it represents the intended use and is authorized. Record any damage or abnormal resistance rather than reporting only the final successful assembly. Define sample selection and acceptance with the responsible engineer; this article supplies no statistical lot-release rule.
After an accepted change, update the work instruction and purchasing reference at the same time. Identify whether existing stock needs review, how returned assemblies will be handled and which changes require renewed approval. A corrected pilot build does not prevent recurrence if the production line continues drawing nuts from an uncontrolled mixed bin.
What to send with a supplier inquiry
Provide the switch code, mounting hardware references, panel drawing, assembly stack, lot identity and photographs. State whether the pair remains together and whether removal, cleaning or added force has changed it. Include the approved tightening instruction and the actual tool setting where known. Mark unknown facts as unknown, especially material and coating identity.
Ask the supplier to distinguish dimensional compatibility, surface condition and the recommended assembly process in its response. Request written confirmation of any proposed substitute hardware or compound. For broader component selection after the investigation, compare the requirements with the guia de substituição do interruptor de oscilação, while keeping the original binding evidence attached to the decision.
Further learning: adhesive wear
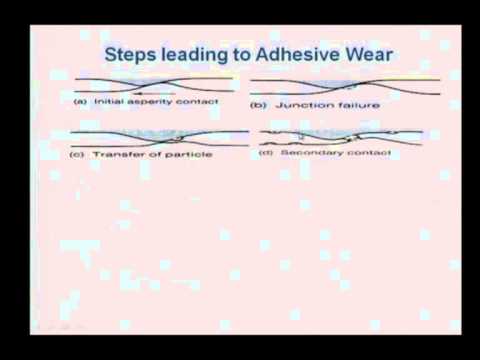
The NPTEL lecture below explains adhesive wear as a materials mechanism. It provides background for the term galling, not a switch-specific assembly procedure or approval for any lubricant, alloy or torque setting.
nptelhrd: Adhesive Wear
Perguntas frequentes
Cada porca de aperto indica encravamento?
Não. Fios incorretos, contaminação, danos e o arranjo de montagem também requerem investigação.
Deve ser usada mais força para libertar um fio preso?
Não. Pare e utilize um procedimento aprovado de investigação ou remoção.
Pode ser adicionado lubrificante sem rever as instruções de torque?
Não assuma isso. Obtenha aprovação para o composto e o método de montagem associado.
O casquilho de liga LT3230C é estabelecido pela sua fotografia?
Nº Confirme o material e acabamento aplicáveis através da documentação do fornecedor.