
Match the replacement to the machine, not just the switch body
A micro switch replacement must match the original contact function, mounting geometry, actuator movement, terminal arrangement and electrical duty. A switch that fits the screw holes can still change the operating point, reverse a control signal or fail prematurely under the connected load. Start with the equipment service instructions and the complete original part number, then compare the proposed replacement against a current drawing and rating sheet. For industrial and appliance assemblies, treat an undocumented substitution as an engineering change requiring validation. This guide explains how to build that comparison without assuming that similar-looking switches are interchangeable.
The scope here is a mechanically actuated snap-action component, such as the models in the LEMA micro switch range. It does not provide an approval to replace a machine safety device, a sealed appliance assembly or a manufacturer’s proprietary service part. Those cases may require an exact approved component or a complete assembly. Do not bypass an interlock to keep equipment running while a replacement is being sourced.
Record the original installation before removing anything
Identify the equipment, assembly revision and original switch order code. Photograph the switch from the actuator, mounting and terminal sides, with the circuit isolated. Record the markings exactly, including voltage, current, temperature codes and any separate load-specific ratings. A supplier logo or a partial family name is not enough: terminals, actuators and contact materials can vary within one product family.
Record how the actuator contacts the moving mechanism. Note whether a cam touches a roller, a bracket presses a plunger, or a door deflects a lever. Include the normal rest position and the position at which the equipment expects the contact to change. If the machine service procedure provides an adjustment or test fixture, use that procedure as the reference. Do not infer the original operating point from a bent or worn lever.
Label conductors using the circuit designation and terminal identification before disconnecting them. Wire color alone is an unreliable substitute for a diagram. Save the original fasteners, washers and mounting orientation as evidence, but inspect their condition before reuse. A stripped mounting hole or cracked bracket can make a correct replacement perform poorly.
Isolate energy and confirm the fault
A component should not be replaced solely because the machine does not start. The fault may be in a connector, damaged cable, actuator alignment or control input. Follow the site’s isolation procedure and the machine instructions before inspection. Electrical, pneumatic, hydraulic, gravitational and stored mechanical energy can all matter. The Guida OSHA sul controllo dell'energia pericolosa explains why maintenance requires effective control of unexpected energization and stored energy.
Continuity checks belong on an isolated contact circuit with parallel paths accounted for. They can establish whether a contact changes state consistently, but they do not prove load capacity, insulation performance or service life. See the complementary micro switch multimeter testing guide for the diagnostic boundary. Stop if the component is part of a safety function whose test requirements are not known.
Look for mechanical causes as well as electrical symptoms. Loose mounting, excessive travel, a damaged roller or side loading can recreate the fault immediately after replacement. If a failed terminal shows heating, inspect the mating connection and conductor termination. Replacing only the switch does not repair a loose connector or an incorrectly specified load.
Compare contact function and terminal identification
Determine whether the original device is normally open, normally closed or changeover, and what those states mean at the unactuated position. On a changeover device, common, normally open and normally closed are functional designations; their physical positions must come from the exact drawing. Never assume that three terminals follow a universal left-to-right arrangement.
Write a simple state table for the application: actuator released, actuator at its intended operating position, and actuator returned. Compare the original circuit expectation with the replacement contact arrangement. The important result is the signal observed by the equipment in each state, including any controller logic that inverts the input. A contact that is closed at rest may be required for fault detection even when the visible process action seems to suggest otherwise.
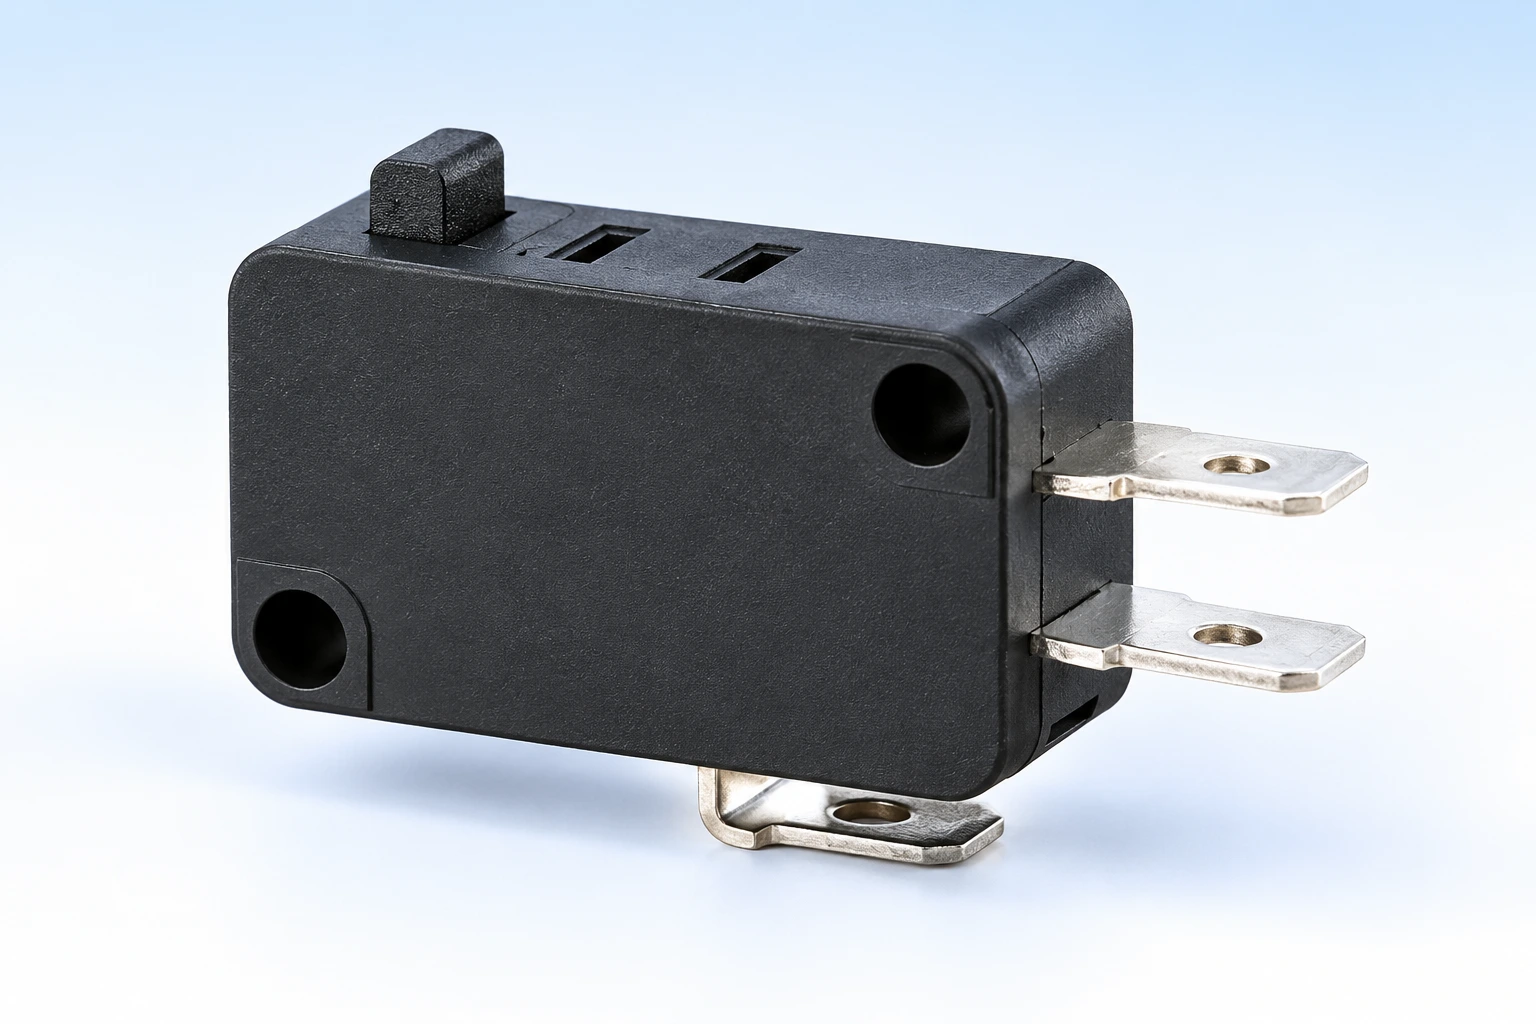
Utilizzare il Guida alla selezione dei microinterruttori industriali as the broader specification reference. This replacement comparison is narrower: every accepted difference must have a documented reason and a validation step. Do not convert an originally normally closed monitoring circuit to normally open merely because a convenient replacement is available.
Check form, fit and travel as separate requirements
Compare body dimensions, mounting hole centers, fastener size, clearance around the terminals and the available envelope for actuator movement. Confirm the orientation used in each drawing before comparing measurements. Two drawings may show opposite sides of the switch, making an apparently mirrored terminal arrangement easy to overlook.
Then compare actuator geometry. Lever length, roller diameter, pivot position and plunger height influence where the mechanism first operates the contact. A longer lever may change the force and travel requirements even when it fits the enclosure. The machine’s available stroke must operate the switch reliably without using the switch body as a mechanical stop.
Operating position, pretravel, overtravel and differential travel describe different points in the movement. Use the exact manufacturer’s values and tolerances; there is no universal adjustment distance. The guide to micro switch travel terms explains those differences. Validate both the outgoing motion and return motion, because a replacement that operates correctly may still release at the wrong point.
| Comparison | Evidence to collect | Reason to hold the substitution |
|---|---|---|
| Contact function | Original circuit and replacement contact diagram | Required released or operated state differs |
| Montaggio | Dimensioned drawings and bracket inspection | Holes align only when the body is forced or modified |
| Actuator travel | Operating and release positions, tolerances and machine stroke | Insufficient margin or excessive overtravel |
| Carico elettrico | Voltage, AC/DC, load category and relevant ratings | Only a headline current value matches |
| Termination | Terminal dimensions, connector and conductor specification | Loose mating fit or unsupported soldering process |
| Ambiente | Local temperature, contamination and required sealing | Rating applies to a different installation boundary |
This table is a qualitative substitution checklist, not a set of invented tolerances. Acceptance limits must come from the equipment documentation and the exact proposed component.
Match electrical duty and the termination system
Compare the actual circuit voltage and whether it is AC or DC. Identify whether the switch handles a controller input, a relay coil, a lamp or another load. A resistive current rating does not automatically establish suitability for an inductive load. A part that handles substantial current may also require confirmation for a very low signal current. Preserve the intended contact material and load conditions rather than selecting only the largest current number.
Check terminal style, blade width and thickness, solder requirements or PCB footprint as applicable. A connector that can be pushed onto a blade is not necessarily the correct mating component. Inspect retention and strain relief, and follow the specified assembly method. Do not file terminals, bend them into a different footprint or use solder as a substitute for a proper mechanical connection.
If the original failed with arcing or welding, investigate the load and suppression arrangement before commissioning a new part. A continuity meter cannot establish that those conditions are corrected. The equipment designer must decide whether the switch should control a relay or contactor instead of carrying the load directly. Do not introduce a new interface without reviewing its effect on the control function.
Confirm the environment and the exact product evidence
Measure the environment at the installed switch, not only the room. Nearby heaters, motors, contamination and cleaning processes may create more demanding conditions. Confirm whether a seal rating describes the complete switch, an actuator boundary or an assembled installation. A terminal connection outside the sealed region may still need protection.
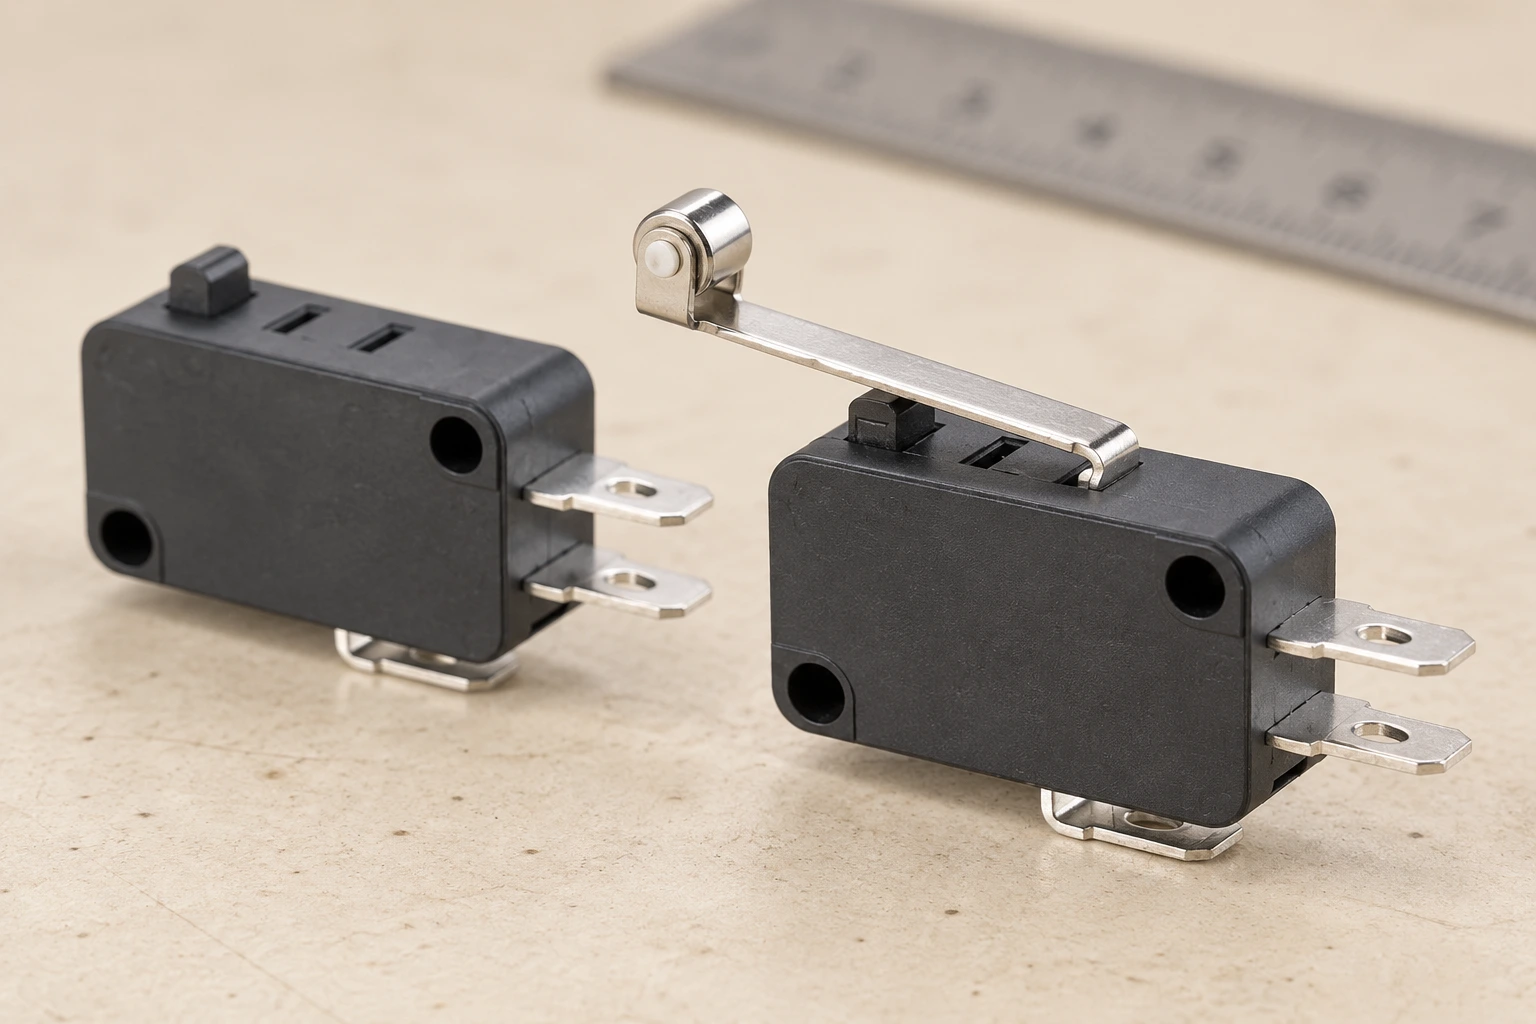
Le illustrazioni del prodotto qui utilizzano riferimenti reali LEMA KW7 per mostrare caratteristiche del corpo, della leva e del terminale. Non sono una prova che un determinato codice d'ordine sostituisca un altro marchio, che ogni variante KW7 abbia le stesse caratteristiche o che un modello sia adatto a una funzione di sicurezza. Richiedere il disegno e le specifiche attuali per la variante selezionata. Includere le fotografie originali dell'interruttore e le misure di installazione quando si chiede a LEMA di revisionare una richiesta di sostituzione OEM.
Convalidare la sostituzione prima di ripristinare l'equipaggiamento in servizio
Eseguire i controlli sui contatti isolati specificati, quindi verificare la sicurezza di montaggio e la distanza di sicurezza durante tutto il movimento del meccanismo. Confermare che il meccanismo funzioni e rilasci il contatto nelle posizioni richieste senza impatti, inceppamenti o forze eccessive. Registrare i risultati rispetto ai limiti di accettazione della macchina. Un singolo attuazione riuscita non è sufficiente a dimostrare un allineamento coerente.
Rimettere in servizio l'equipaggiamento solo secondo la procedura di messa in servizio autorizzata. Verificare il segnale di controllo effettivo, la risposta prevista e qualsiasi comportamento di riavvio richiesto. Il HSE machinery maintenance guidance sottolinea la manutenzione programmata e il lavoro competente. Quando sono coinvolte funzioni di protezione, la verifica richiesta deve essere completata da persone qualificate per quel sistema.
Per approfondimenti sul principio di contatto, il video educativo RealPars di seguito spiega gli interruttori di posizione azionati meccanicamente. Supporta la comprensione dell'attuazione e delle variazioni di contatto; non è un'approvazione di sostituzione o una procedura di servizio per l'equipaggiamento.
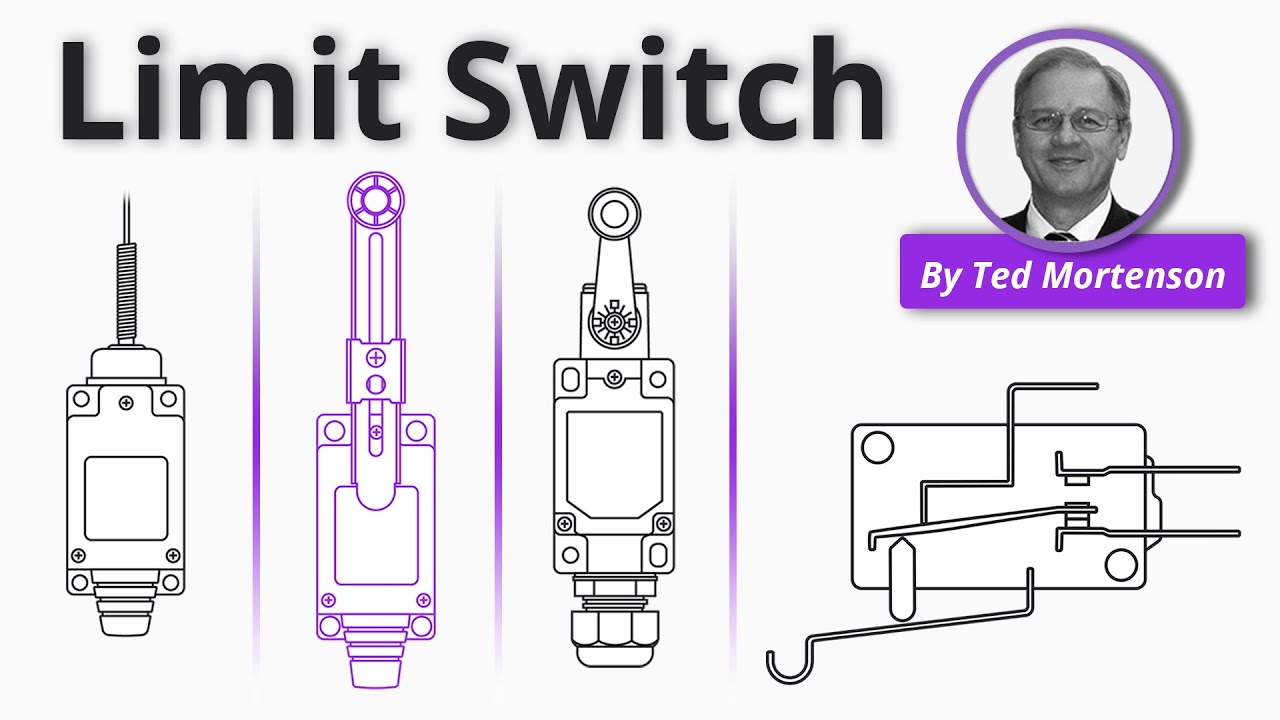
Guarda la spiegazione di RealPars su YouTube.
Mantieni un registro di sostituzione approvato
Registra i codici d'ordine originali e di sostituzione, le revisioni dei disegni, le differenze accettate, le impostazioni di installazione e i risultati dei test. Conserva le informazioni di tracciabilità dei componenti con il registro di manutenzione della macchina. Per un cambiamento di produzione, aggiorna la distinta base e le istruzioni di montaggio in modo che i tecnici successivi non debbano ripetere una sostituzione non documentata.
Invia una richiesta completa tramite LEMA’s contact page: includi quantità annuale, funzione esatta, disegno meccanico, condizioni di carico, ambiente e requisiti di approvazione. Un pacchetto di confronto chiaro è più utile che chiedere un interruttore visivamente identico. Se un requisito critico non può essere confermato, conserva la specifica approvata originale e sospendi la sostituzione.
Domande frequenti
Posso sostituire un microinterruttore con un modello con una corrente nominale più elevata?
Solo dopo aver verificato tutti i requisiti pertinenti. Una corrente nominale superiore non garantisce la compatibilità del materiale dei contatti, il comportamento a basse correnti, la categoria di carico, la corsa, i terminali o le omologazioni. Confrontare le condizioni operative effettive e l'intera installazione.
Gli interruttori micro a tre terminali sono intercambiabili?
No. Tre terminali indicano spesso contatti di commutazione, ma le posizioni dei terminali, le dimensioni, la geometria dell'attuatore e le caratteristiche possono variare. Utilizzare lo schema di contatto esatto e un confronto meccanico documentato.
Devo piegare la leva di sostituzione per farla entrare?
Non improvvisare una modifica alla leva. Può alterare la forza di funzionamento, il percorso e il comportamento in termini di affaticamento. Utilizzare un'opzione di attuatore approvata o una procedura specifica documentata per l'attrezzatura.
Un test di continuità riuscito dimostra che la sostituzione è sicura?
No. Verifica lo stato del contatto nelle condizioni di prova. Non dimostra isolamento, resistenza al carico, prestazioni ambientali, idoneità alla funzione protettiva o la corretta risposta della macchina.