
Micro switch lever pivot play inspection starts by locating which interface moves: the mounting, lever attachment, roller bearing or intended operating mechanism. Visible movement alone does not establish wear, and a sharp click does not establish acceptable operation. Compare the exact ordered assembly with its approved drawing and a documented baseline, using a safe, repeatable inspection method. If motion has changed, return is unreliable or damage is visible, refer the assembly for disposition before reuse. This guide helps maintenance and OEM purchasing teams collect useful evidence without inventing a universal permissible clearance.
Define the movement before calling it pivot wear
“Loose lever” can describe several different observations. The entire housing may shift on its bracket. The lever may move at its attachment while the housing stays still. The roller may move on its own support. The lever may also flex or travel through its designed operating range. These observations lead to different questions, so the first useful report identifies the moving interface and the viewing direction.
Describe the symptom in relation to a fixed feature. For example, record that the lever attachment changes position relative to the housing while the bracket remains stationary. Do not convert that description into “failed pivot” before the construction and expected motion are confirmed. A video can help a supplier understand the observation, provided it is made under an approved safe inspection arrangement.
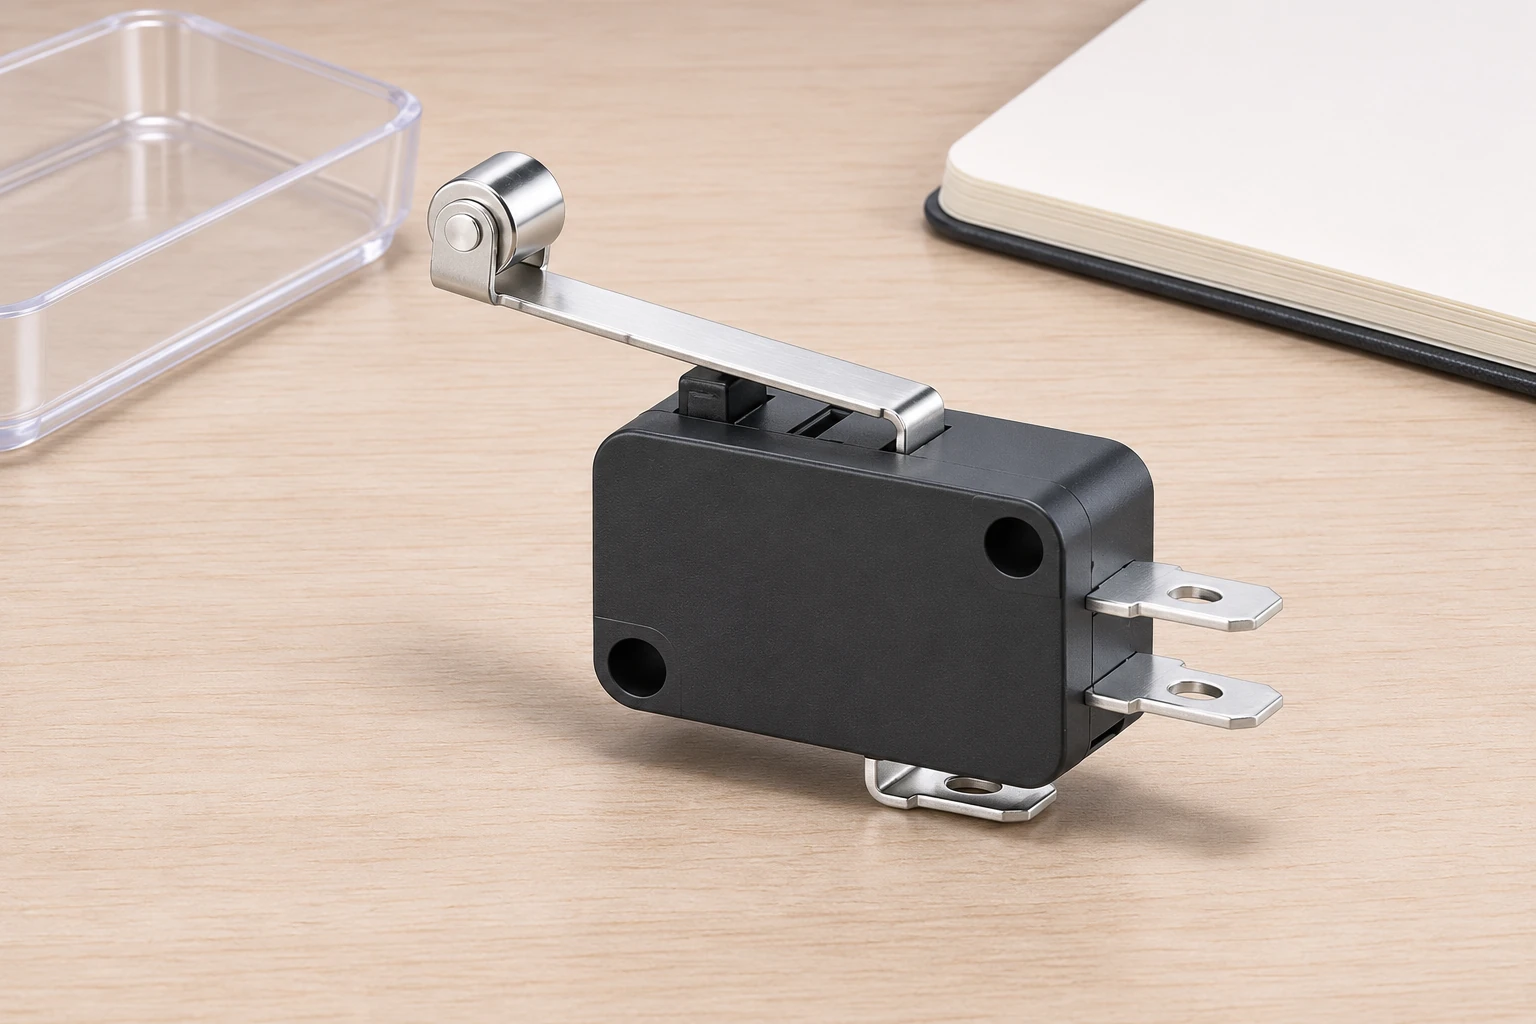
The KW7 series product information documents several lever and terminal choices. It does not provide a universal field limit for lateral pivot clearance. The photographed roller-lever version is a product reference, not proof that every KW7 lever shares the same attachment or permissible movement. Obtain the ordered code and its drawing before comparing different units.
Make the assembly safe and preserve its condition
Inspection must not expose a person to a moving mechanism or live terminals. Use the equipment’s approved isolation and verification procedure, with competent personnel deciding the safe access and test arrangement. The CCOHS hazardous energy guidance explains the need to identify energy sources and plan task-specific controls. Pressing the normal stop control is not a substitute for that process.
Before removing anything, photograph the complete support, target, lever, wiring route and mounting orientation. Keep the original observation separate from any result obtained after removal. A switch that moves freely on a bench may still bind in its original bracket; conversely, removal can hide a loose mounting interface. Record each change so that the sequence remains intelligible.
Do not pry the lever, squeeze its attachment, bend it to remove movement or inject lubricant to see whether the symptom disappears. Those actions can change the evidence and introduce an unapproved configuration. Where further examination requires disassembly or special loading, agree the method with the responsible engineer and supplier rather than improvising a field repair.
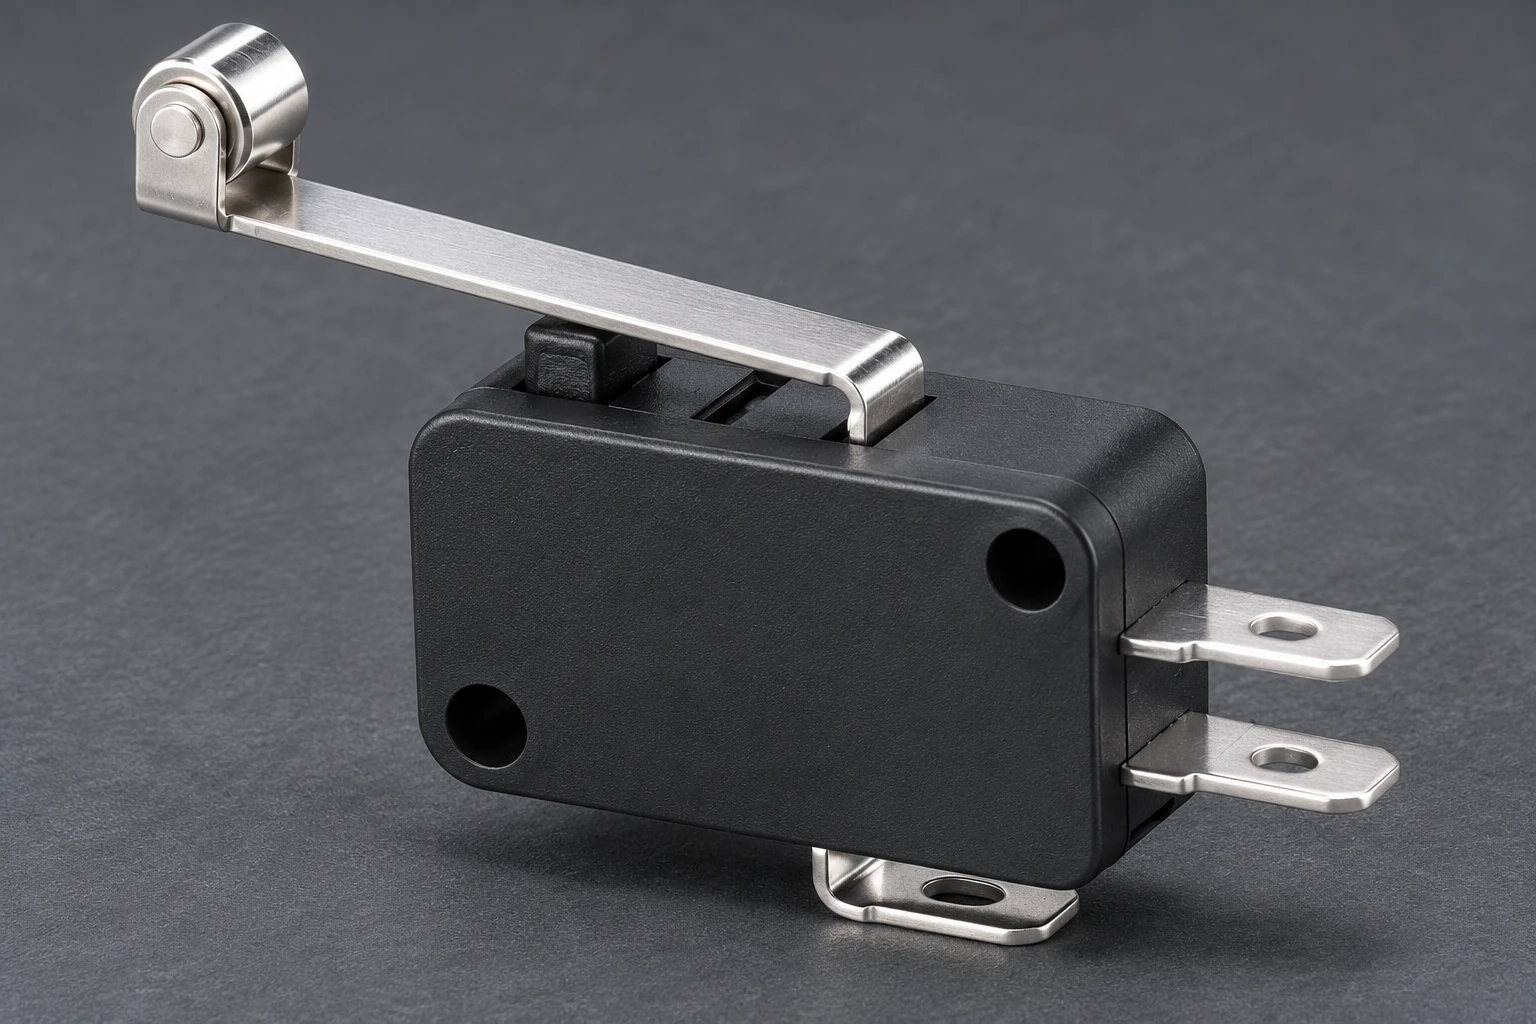
Compare like with like
A useful reference has the same order code, actuator configuration, mounting arrangement and inspection method. A new unit with a different lever length or attachment is not a direct clearance standard. Even two apparently identical units should be identified by their lot or receipt records, because an unexplained comparison can otherwise turn into a dispute about specimen identity.
Ask whether an earlier acceptance record exists. A clear photograph of an approved sample, with its viewing direction and setup recorded, can be more informative than a recollection that the lever “used to feel tighter.” If a numerical comparison is needed, agree the point of observation, reference features, direction and applied load first. A number without those conditions is not a reproducible measurement.
Do not apply an arbitrary side load to obtain a displacement. The supplier should define a suitable method for the construction, including how the specimen is supported and whether the test is permitted on a serviceable part. Preserve units intended for return analysis separately from parts used for a potentially altering test. A good comparison should answer a stated question without consuming every available specimen.
Separate support movement from operating travel
Inspect the bracket and housing relationship before focusing on the lever. If the housing shifts, the observed tip movement includes mounting motion and cannot be assigned wholly to the pivot. Record loose or damaged supports as a separate finding. Refer mounting corrections to the equipment instructions; additional screw tightening is not a universal solution and can introduce a different problem.
Next distinguish motion at the lever support from rotation or movement of the roller. A worn target-contact surface and a changing lever attachment are neighboring issues, but they are not interchangeable findings. The roller wear inspection guide addresses the roller and target interface. Use that record alongside this one when both areas show change, without assuming either caused the other.
Finally relate the observation to the required actuation window. The tolerance stack-up guide explains why the complete mechanism matters. A support that changes position may affect where the target meets the lever; that possibility needs assembly evidence. Neither a visual clearance observation nor a successful hand operation establishes the installed operating and release margins.
Build a focused inspection record
The following table is a proposed evidence checklist, not a manufacturer acceptance specification. Its purpose is to make observations comparable and to expose unanswered questions. Inspection scope and frequency should follow the equipment risk assessment and supplier recommendations; HSE’s inspection guidance supports that risk-based approach rather than a fixed interval for every installation.
| Review area | Evidence to collect | Question for disposition |
|---|---|---|
| Identity | Exact code, actuator and drawing revision | Does the reference represent the ordered construction? |
| Housing support | Bracket and housing movement recorded separately | Is apparent lever play partly mounting motion? |
| Lever attachment | Location, direction and agreed method | Is clearance expected or changed from baseline? |
| Roller | Separate bearing and target observations | Is the complaint at the roller rather than attachment? |
| Function | Approved installed operation and release checks | Does the complete assembly meet its requirements? |
| Closure | Decision, configuration and retained specimens | What evidence supports release or replacement? |
Keep the observation, interpretation and decision in separate fields. “Visible relative movement at the lever attachment” is an observation. “Possible attachment wear” is a hypothesis. “Replace and return for analysis” is a disposition. Combining them into a single statement such as “pivot worn out” removes the information needed to assess alternative explanations and compare future findings.
Include an image scale only if it can be placed safely and its position is meaningful to the comparison. Perspective and camera distance can make two photographs look different even when the physical condition is similar. For critical measurements, use the agreed inspection method rather than measuring pixels from an uncontrolled phone photograph. Save original files instead of relying solely on compressed report thumbnails.
Example: a lever looks loose after a bracket change
Consider a hypothetical machine whose position input becomes inconsistent after its mounting bracket is replaced. A technician notices side movement at the lever and requests a tighter switch. That request skips an important distinction: the complaint appeared after the support geometry changed, but timing alone does not prove that the new bracket or the switch caused it.
An authorized investigation first records the bracket drawing revision, switch code, target route and original assembly photographs. It then distinguishes housing movement from lever attachment movement under the agreed safe setup. If the housing shifts against the bracket, that finding belongs in the mounting review. If the housing stays fixed while attachment movement differs from the approved reference, the supplier has a focused component question to answer.
The resulting disposition might require correcting the bracket, replacing a damaged switch or collecting more evidence. This example does not predict which outcome is correct. Its value is the comparison structure: each change is documented, competing explanations remain visible, and the team avoids tightening, bending and replacing several items at once without learning which interface mattered.
Ask for a decision the supplier can support
Send the supplier the complete switch code, equipment reference, quantities affected, history and original-condition images. Describe the motion direction and location, together with the agreed measurement setup if one was used. Ask whether the observed clearance is expected for that construction and what evidence distinguishes acceptable movement from damage or deterioration.
If a replacement is proposed, confirm the actuator and attachment configuration rather than requesting only “same size.” The micro switch replacement guide covers the wider form, fit and function review. A change in lever geometry may require renewed assembly evaluation even when the body mounts in the same holes. Obtain a documented revision and compatibility decision for any alternative.
For recurring findings, ask whether the supplier needs the target or bracket information as well as the switch. Return specimens with traceable identities and a handling record. A report on a different lever variant cannot automatically release the installed configuration. Likewise, a supplier statement that a part is mechanically intact does not by itself close an intermittent wiring or control-input investigation.
Educational video: isolation before inspection
Work Safe Queensland’s film below explains why machinery must be isolated before maintenance or cleaning access. It is relevant to arranging a safe lever inspection, not to measuring pivot clearance. It does not provide a KW7 acceptance limit or approve a particular inspection fixture. Apply the equipment-specific procedure and the responsible site’s requirements.
Work Safe Queensland: Isolating machinery when not in production

Watch Isolating machinery when not in production.
Close the finding before returning equipment to use
The closure record should identify the configuration actually released, the observations resolved, the applicable acceptance basis and the person responsible for the decision. If a component was changed, preserve its identity and the reason for replacement. Record any bracket or target changes separately so that a later recurrence can be compared with the original condition.
Return-to-service checks should address the intended installed behavior, including operation and release under the equipment’s approved procedure. A disconnected continuity check answers a narrower question than the complete control function. Do not treat an audible click, a single successful cycle or the absence of visible damage as full evidence of suitability. Escalate unresolved motion or unreliable behavior rather than normalizing it as harmless play.
Frequently asked questions
Does any lateral lever movement mean the switch is worn?
No. Identify the exact construction and compare the movement with an approved baseline or supplier method.
Can I tighten the lever attachment to remove play?
Do not improvise an adjustment or repair. Obtain a documented disposition for the exact assembly.
Does a click prove that pivot clearance is acceptable?
No. A click does not establish the permitted clearance or the installed operation and release margins.
Is roller wear the same as pivot play?
No. Record roller movement, lever attachment movement and housing movement as separate observations.