
A Flush Push Button Switch keeps the actuator near the panel face so routine start and reset commands need a deliberate finger press rather than a casual bump. This guide compares flush and projected heads, turns that choice into drawing checks for cutout, thickness, and rear keep-out, and shows when supplier colour or LED options matter—only after head geometry is proven on a sample or approved drawing.
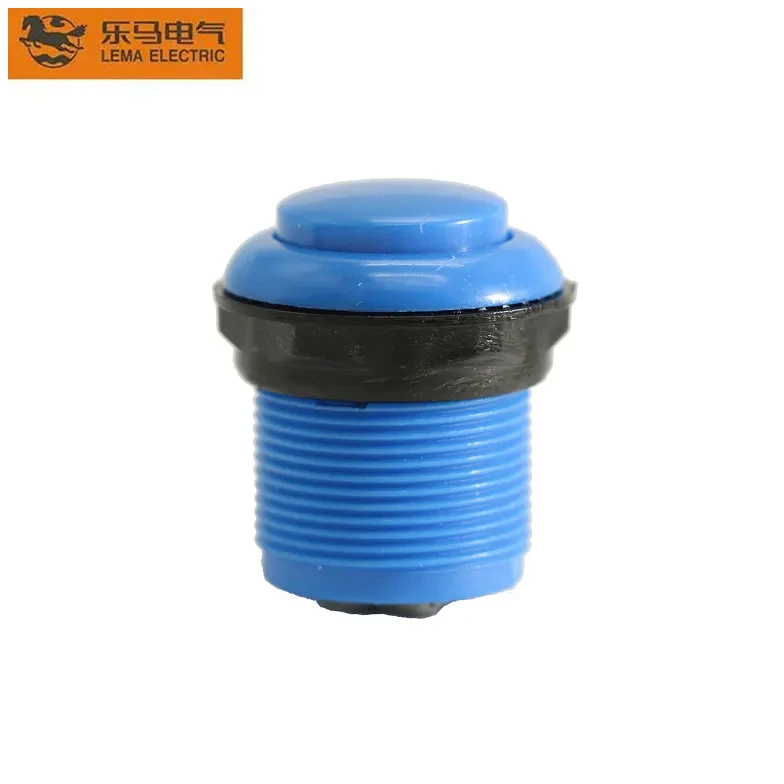
What a flush push button switch changes on the panel
A flush head sits close to the bezel or panel plane, so sleeves, tools, and leaning operators are less likely to trigger a command by accident. Industrial flush-versus-projected guides describe that near-level profile as a way to keep start and reset actions intentional on busy doors and operator stations—not as a guarantee that every family publishes the same front height.
That change is mechanical, not cosmetic. The same panel can look tidy while still failing if the rear body fights a cable duct, or if the operator cannot feel a clean press through gloves. Treat the flush silhouette as one input in a larger clearance and actuation package.
On a packaging line start station beside a narrow walkway, a low-profile head reduces “lean and go” mistakes. The trade-off appears in cold-storage panels where thick gloves make a shallow face hard to find: the same profile that blocks accidental hits can slow intentional ones.
Flush vs projected heads: choosing actuation intent
Choose a flush head when the command should take a conscious finger press; choose a projected / extended head when the operator must find and hit the control quickly, including with gloves. The Wikipedia push-button overview notes that regular flush-mounted buttons can be harder to actuate with gloves, while raised or mushroom-style targets exist when palm or slap access is the design goal—each for a different command job.
Picture a conveyor start button beside a narrow walkway. A projected green head is easy to brush when someone carries a harness past the door. A flush start forces the operator to aim and press, which is exactly the behaviour many panel builders want for “run” commands.
The reverse case shows up in cold rooms and heavy glove work. A shallow flush face can be missed, so a raised head or a larger target may be safer for routine operation even if it looks less sleek.
Emergency-stop mushroom devices are a different job. They are sized and coloured for palm access and latching stop behaviour under control-circuit safety practice. A flush start or reset head does not replace that geometry, and this article does not treat any panel push button as an emergency-stop device.
| Decision cue | Lean flush | Lean projected / extended |
|---|---|---|
| Accidental bump risk near traffic | Higher priority to reduce bumps | Accept more protrusion if access speed wins |
| Glove or low-visibility operation | May feel too shallow | Easier to locate and press |
| Start / reset intentionality | Favours deliberate finger press | Use only when intentionality is already controlled by guards or logic |
| Fast stop access | Not the primary tool | Better for quick hits; e-stop still needs proper mushroom design |
Important: On crowded OEM doors, a flush start head reduces casual bumps, but the same low profile can frustrate glove users. Lock actuation intent with the people who stand at the panel before you freeze the head style on the drawing. See the push-button overview on Wikipedia for the glove-access trade-off and the Essen flush-versus-projected buying guide for intentional-start versus fast-access framing.
Panel clearance checklist: front, cutout, and rear keep-out
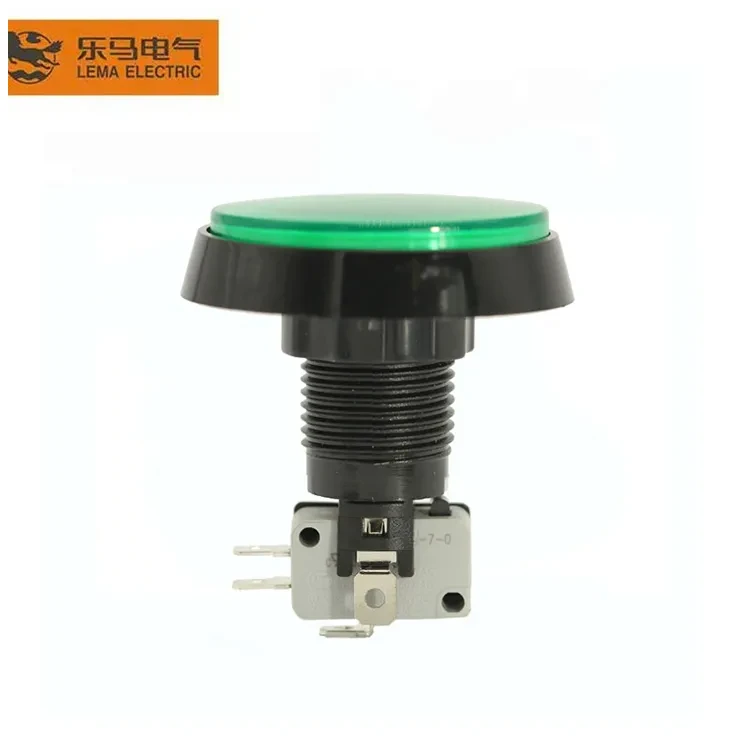
Clearance is four separate drawing items: finished panel cutout, panel thickness, front projection or bezel footprint, and rear keep-out for the body, nut, terminals, and wire bend. A panel-mounted push button specification explainer stresses that a clean front photo never proves those four items together. A flush mount pushbutton still fails if any of them is missing from the released drawing.
Industry example families publish low front heights around 2 mm to 2.5 mm for certain flush silhouette series, and some constructions document panel-thickness windows such as roughly 0.5 mm to 3.2 mm. Those figures belong to the named series that publish them. They are reminders that “flush” still has millimetres attached on a drawing; they are not transferable ratings for every push button on the market.
Many OEM doors fail late in the rear keep-out zone. A switch can sit flush in the front view while its contact block or micro-switch stack collides with a PLC card, a cable tray, or a hinged door swing. Ask for a section view that shows wire exit direction and neighboring hardware, then compare that volume to the candidate model’s envelope.
| Buyer input to freeze | Why it changes the part | Evidence to request |
|---|---|---|
| Finished cutout geometry | Sets the mounting interface | Controlled panel drawing |
| Panel thickness after finish | Changes nut engagement and gasket stack | Thickness callout on drawing |
| Front projection / bezel footprint | Affects snag risk and neighboring legends | Front view + head style note |
| Rear keep-out depth and width | Protects terminals and harness bends | Section view with wire path |
| Neighboring controls spacing | Prevents finger clashes and label overlap | Layout with centre distances |
If the panel will be painted or powder-coated after punching, re-check the hole after finish. Coating can shrink a cutout just enough to make a tight bezel bind or leave a gap that looks “almost flush” in the wrong way.
Actuation travel and deliberate press behavior
Actuation is the feel of travel, return, and contact change when a finger presses the head. Flush geometry only sets the approach; the internal travel still has to match the job.
Some industrial flush silhouette datasheets publish operator travel on the order of a few millimetres for a given series. Use those numbers only as examples of how specific families document travel. For any candidate part, confirm the travel and return behaviour on the model drawing or sample, especially if the panel also carries illuminated heads that change finger feedback.
For OEM sampling, ask operators to press the candidate head in the real stance—standing, seated, or gloved—then note whether the travel feels positive without requiring a palm slap. If people consistently miss the head, reconsider projected geometry or legend contrast before you argue about colour codes.
Mounting drawings and standard context
Control-circuit buyers often ask which published framework covers push-button devices used for signalling and interlocking.
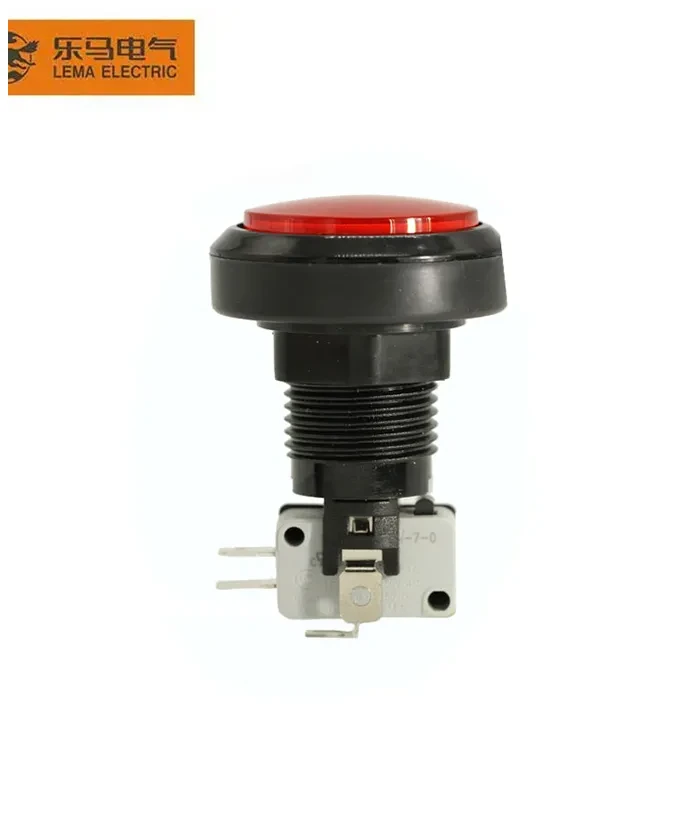
IEC 60947-5-1 is the international framework for electromechanical control circuit devices, including push-buttons used for controlling and signalling. Its published structure includes mounting-hole and centre-distance topics for single-hole devices—useful context for why panel designers insist on disciplined hole geometry. It does not replace the selected model’s mounting drawing, and it is not a substitute for measuring front projection on the part you will buy.
Drawing discipline also keeps marketing language from leaking into the BOM. Words such as flush, illuminated, or long life describe a direction; the released drawing carries the hole, thickness, keep-out, and contact logic that manufacturing will build. If those fields are blank, procurement is guessing.
Mechanical head choice should be settled on the physical panel before software configuration debates begin—a reminder that appears often in community control-panel layout discussions.
Selecting PBS Series product options after head geometry is proven
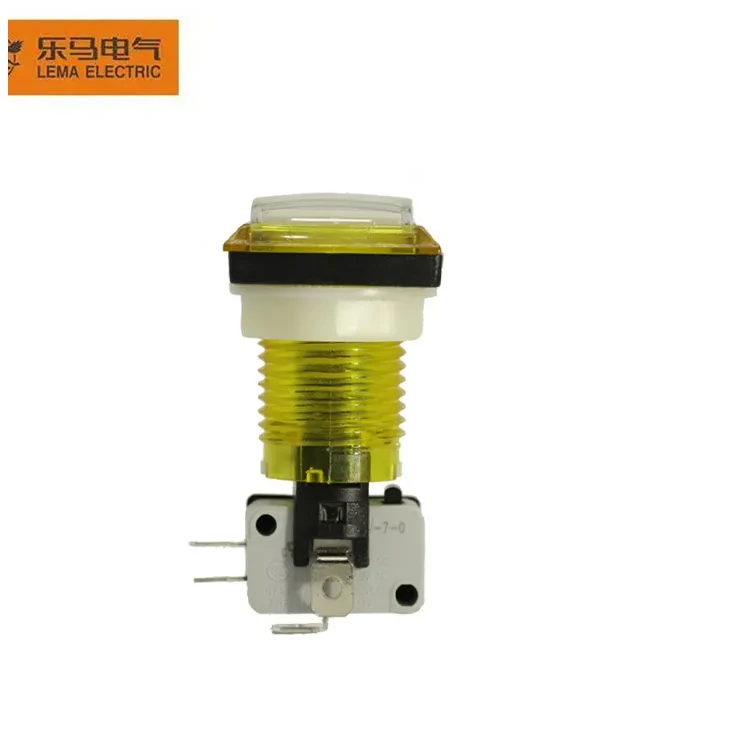
The PBS Series Push Button Switch page does not list flush or projected head styles as ordering codes. It also does not publish verified panel cutout dimensions, front-projection millimetres, IP ratings, certifications, or electrical ratings for this article to repeat. You cannot complete a flush-versus-projected decision from that page alone.
Use PBS in the workflow only after head geometry is credible:
- Front profile — Sample or supplier drawing shows front projection and bezel stack that match your flush-or-projected intent.
- Rear envelope — Section view clears the contact block, nut, and wire bend in the real door.
- Actuation — Operators confirm deliberate press or glove access in the actual stance.
Only then do the published PBS ordering fields become relevant: colour codes R, Y, B, G, P, and W; optional LED indication with or without illumination; and whether the exact type you want can take a KW7 micro switch—on some types, not every type. Those lines help operator recognition and contact-block selection; they do not prove a flush silhouette.
If your specification still needs a guaranteed cutout diameter, ingress rating, or certified emergency-stop geometry on day one, keep PBS in the comparison set only after model-level documents arrive. Head-profile planning and product approval stay sequential, not interchangeable.
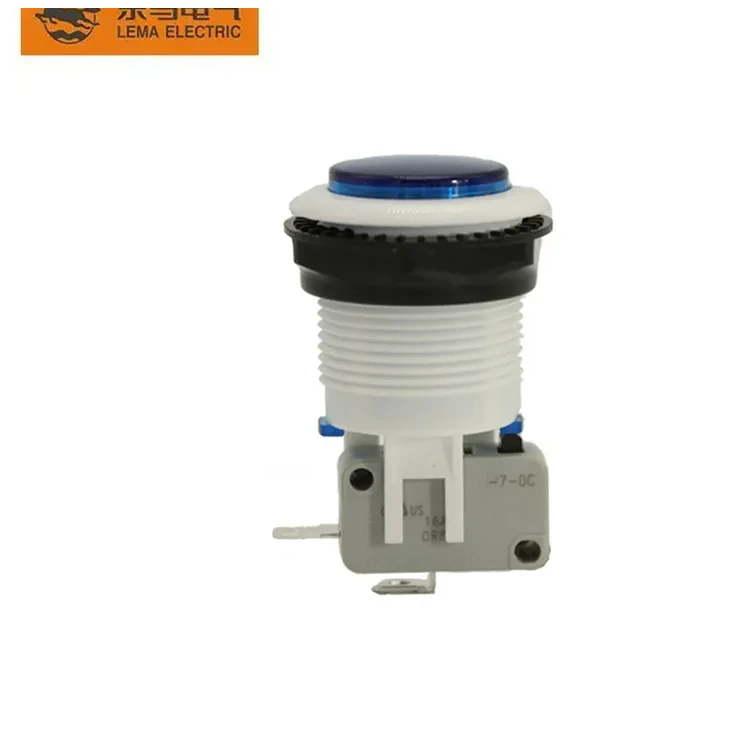
When the geometry package is approved, request a quotation that names the sample ID or drawing revision—not “flush PBS” as a nickname. If the supplier cannot confirm head profile against your drawing, colour and LED options are the wrong conversation to lead with.
FAQs
What is a flush push button switch?
It is a panel control whose actuator sits near the bezel or panel face instead of protruding as a raised target. The low profile is chosen to reduce accidental bumps while still allowing a deliberate finger press.
When should I choose a flush head instead of a projected head?
Use flush when start or reset commands must be intentional and the panel sits near traffic that could lean or brush controls. Use projected or extended heads when operators need fast or gloved access, and keep true emergency stops on proper mushroom-style devices.
What panel clearance items should be on the drawing before ordering?
Freeze finished cutout geometry, finished panel thickness, front projection or bezel footprint, rear keep-out for the body and wiring, and spacing to neighboring controls. Review a section view, not only a front photo.
Can operators wearing gloves use flush buttons reliably?
Often they struggle, because a near-flush face is easy to miss with thick gloves. If glove use is normal, trial a sample in the real stance or consider a more projected head for that command.
Does a flush head replace an emergency-stop mushroom device?
No. Emergency-stop actuators are a separate safety interface with different geometry and expectations. A flush start or reset head is not a substitute for a mushroom e-stop device.
Can I pick flush or projected from the PBS product page alone?
No. The public PBS page documents colour, optional LED, and KW7 availability on some types—it does not publish flush versus projected as ordering codes or panel cutout dimensions. Prove head geometry on a drawing or sample first, then map those configuration fields if the envelope fits.
References
- IEC 60947-5-1:2024 — Electromechanical control circuit devices — control-circuit device framework, including mounting-hole topics at the standard level.
- Push-button (Wikipedia) — flush-mounted versus raised profiles and glove-access trade-offs.
- How to specify a panel-mounted push button switch (Abnewswire via Wedbush) — cutout, thickness, rear keep-out, and action as separate specification inputs.
- Flush vs projected push button types explained (Essen) — intentional start versus fast-access head selection practice.
- Community control-panel layout discussion (Arduino Forum) — mechanical panel layout should be settled before software configuration debates.