CENTRE D’ACTUALITÉS LEMA

Actualités et blog

Centre d’actualités

Longueur du câble de la pédale et dispositif anti-traction pour les commandes des équipements
Blogue LEMA Électrique

Longueur du câble de la pédale et dispositif anti-traction pour les commandes des équipements

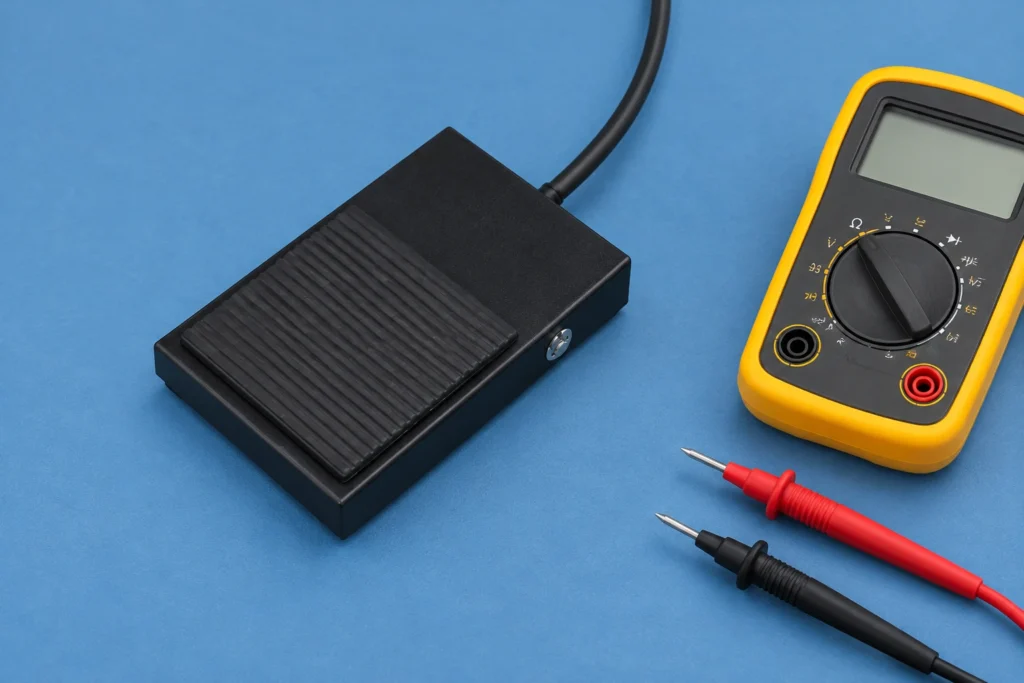
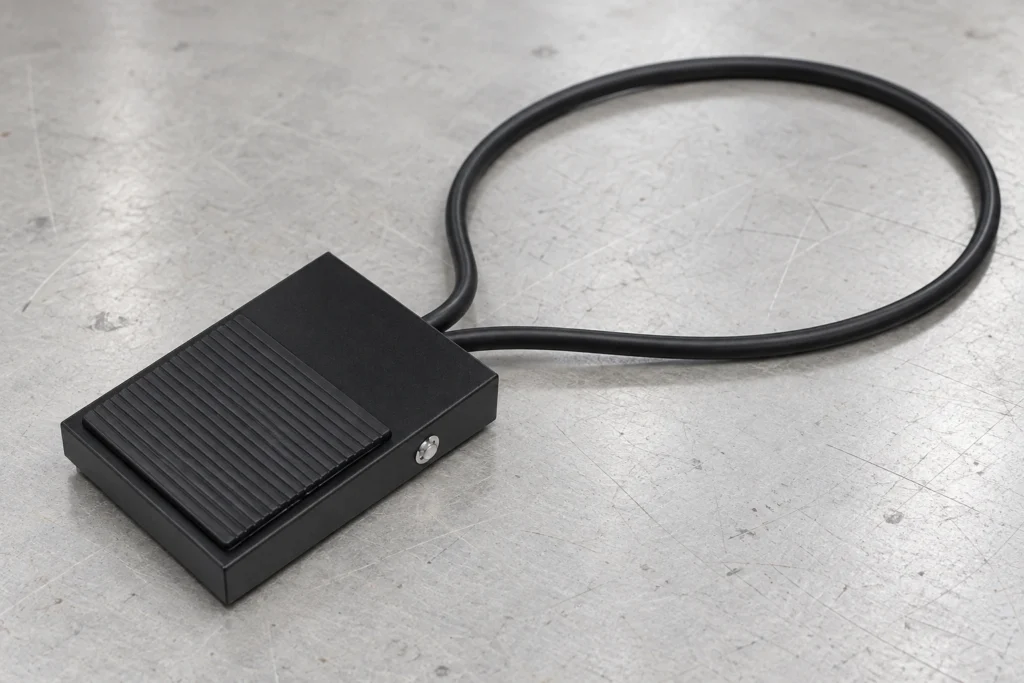
A foot switch cable should reach the intended operating position without pulling on the pedal, connector or internal terminals. Choose its length from the actual route, then verify conductor requirements, electrical interface, environmental exposure and strain relief. A longer cable is not automatically a better cable. Excess slack can create a trip or snag hazard, while a short lead can drag the pedal out of position. This guide covers industrial equipment command pedals, not amplifier accessories. The machine designer must approve the complete pedal, cable and control interface before operation; connector appearance alone cannot establish compatibility. Start with the command circuit, not the cable length Identify what the pedal actually controls. It may close a contact into a low-voltage controller, switch a relay circuit or form part of a manufacturer-defined interface. Those arrangements have different conductor, insulation and protection requirements. Do not assume that a familiar plug carries only a harmless signal. Read the equipment drawing, record the original pedal order code and confirm the supply and receiving input specifications before choosing a cable assembly. A guitar footswitch cable may use a connector that looks similar to an industrial command lead. That resemblance does not prove matching pin assignments, contact action, protective-earth requirements or input behavior. Likewise, an audio shield does not automatically serve as a protective conductor. If the machine documentation is unavailable, keep the equipment out of service until its electrical interface can be established by a qualified person. Use the LEMA LF foot switch product family as a starting point for a model enquiry. The reference photograph confirms an external pedal and attached lead; it does not establish the lead's exact length, conductor size, pinout or suitability...

Lire la suite
Remplacement d’un interrupteur de fin de course industriel : préserver la position et valider la temporisation
Blogue LEMA Électrique

Remplacement d’un interrupteur de fin de course industriel : préserver la position et valider la temporisation

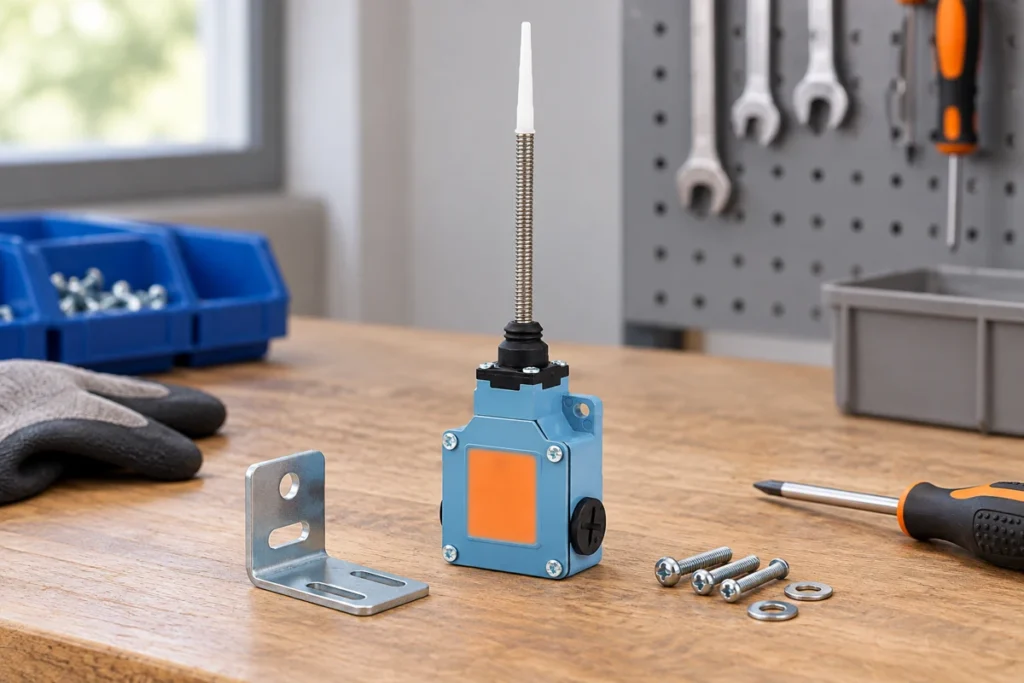
An industrial limit switch replacement must preserve the original contact function, actuator relationship, mounting geometry and electrical duty, then pass the machine's specified acceptance checks. Matching the housing or screw holes alone does not prove that the new part operates at the same machine position. Record the installation before removal and compare the original and candidate order codes against current drawings. This guide covers mechanical equipment position switches, not furnace temperature-limit devices. It explains how to protect an established setup during an approved repair; it does not guarantee unchanged timing or authorise substituting a generic switch into a safety-related function. Confirm the fault and the approved service scope Establish why a replacement is needed before ordering it. A loose bracket, worn target, cable defect or receiving-input problem can resemble a failed switch. Replacing a sound component can leave that problem unresolved and introduce a new operating-point difference. Use the position-switch troubleshooting guide to organise fault evidence before moving the installation. For the broader position-detection context, see the limit switch application guide. Read the equipment service instructions and approved parts information. Identify whether the repair requires an exact service part, an approved alternative or a formal design review. A component used for ordinary position indication may have different verification requirements from one participating in a protective function. Do not assume an alternate model is acceptable because a supplier describes it as suitable for industrial machinery. Secure the machine using its authorised isolation process, including stored mechanical, pneumatic or hydraulic energy where relevant. OSHA's hazardous-energy control standard is a United States workplace reference for that process within its scope. A limit-switch signal, stop command or controller mode is not a substitute for...

Lire la suite
Power Socket Contact Resistance: Measurement and Heat Rise
Blogue LEMA Électrique

Power Socket Contact Resistance: Measurement and Heat Rise

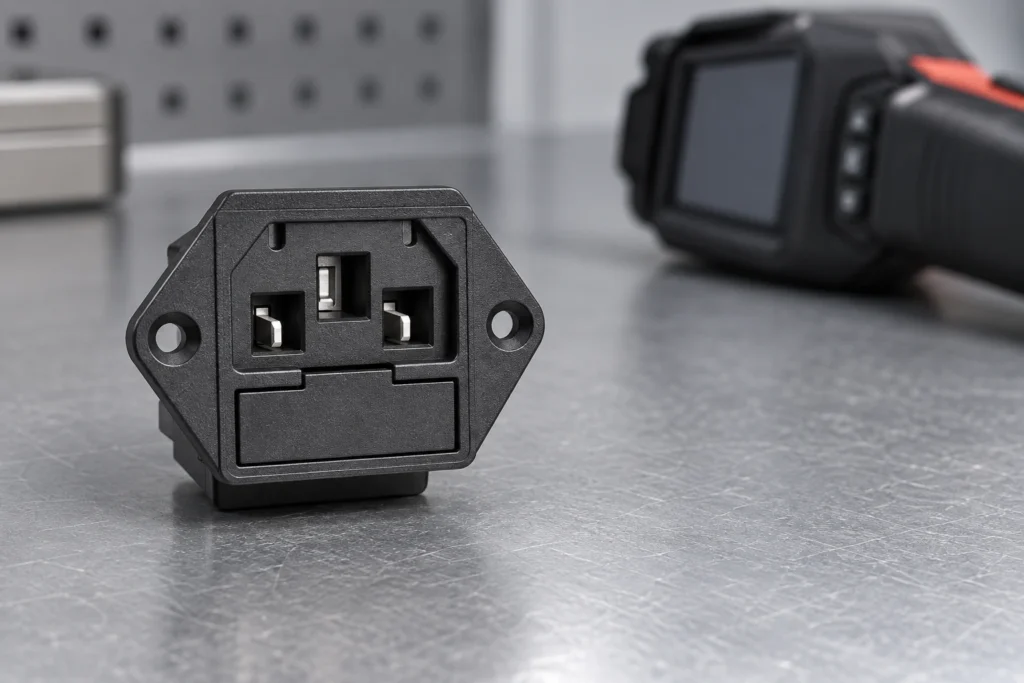
Power socket contact resistance adds electrical loss at the mating interface. Under a given current, a higher resistance produces more local power dissipation, but resistance alone does not predict the final temperature. The contact geometry, surrounding materials, ventilation and operating conditions also matter. For an equipment inlet, evaluate the complete mated connection and the actual application. Start with an isolated, repeatable resistance measurement and a qualified thermal validation plan. Do not use a continuity beep, a cool exterior surface or an unverified catalog number as proof that the connection is suitable. This guide concerns panel-mounted equipment power sockets and inlets, rather than household wall receptacles or RV shore-power connectors. It focuses on how to interpret contact measurements and plan a heat-rise investigation. Work involving installed mains equipment requires qualified personnel, suitable test equipment and the equipment's documented safety procedure. Define the connection being measured Identify the inlet, mating connector, terminals and measurement points. The resistance between two accessible points may include the mating interface, metal within the inlet, the cable termination and part of the cable. Without a clearly stated test boundary, two apparently different contact-resistance results may simply describe different paths. Record the exact inlet and cord-set identities, their condition and whether they are fully mated. Preserve the mounting arrangement and cable support in the test record. A new loose sample on a bench is not necessarily representative of a connection installed in a warm enclosure. Conversely, a measurement including a long cable cannot be described as the inlet's contact resistance alone. The University of Maryland CALCE contact-resistance measurement overview describes evaluation using actual contact geometry and controlled environmental conditions. It supports a central practical distinction: measure the connection...

Lire la suite
Modes de défaillance des micro-interrupteurs : éléments de preuve et vérifications des causes profondes
Blogue LEMA Électrique

Modes de défaillance des micro-interrupteurs : éléments de preuve et vérifications des causes profondes

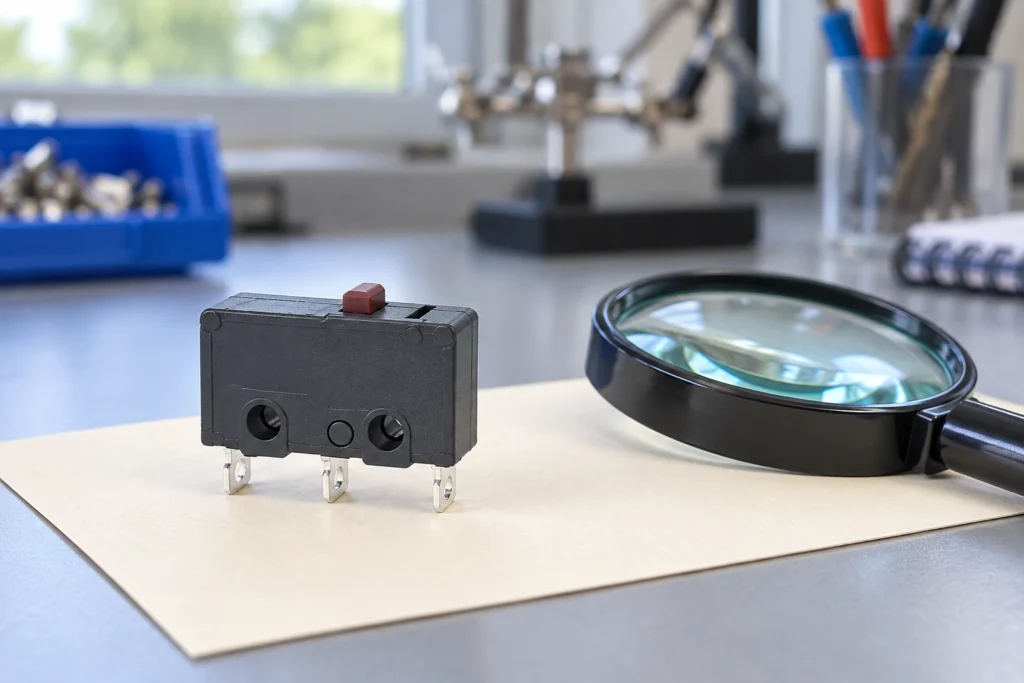
Micro switch failure modes include a contact that will not establish the intended state, a contact that remains closed, intermittent electrical behavior, and a mechanism that no longer operates at the required position. The useful question is what changed before the failure. Inspect the load, actuator movement, mounting, environment and connection system separately. Replacing a switch without preserving this evidence may restore operation briefly while leaving the original cause in the machine. This guide organizes a root-cause investigation for conventional snap-action micro switches; it does not diagnose a specific returned LEMA part. Begin with the machine's reported symptom and the expected contact function. A controller alarm alone cannot prove that the switch failed. A disconnected cable, changing process position or incorrect input configuration can produce a similar result. Treat the switch as one component in a documented chain from physical movement to accepted control signal. Preserve the evidence before changing the installation Record the switch order code, equipment identity and the last known successful operation. Photograph the installed actuator, terminal connection, bracket and surrounding mechanism before loosening anything. Include the operating conditions at the time of the event: a production change, maintenance visit, washdown, new load, cable rerouting or adjustment may explain why an established installation suddenly changed. Label a removed switch with the machine and position it came from. Keep associated connectors and fastening parts when they may contribute to the investigation. Avoid opening a sealed housing, washing away residue or repeatedly working the actuator before its condition has been recorded. A supplier cannot assess the original condition when cleaning or exploratory damage has already altered it. Separate observations from conclusions in the return record. “Input stayed active after...

Lire la suite
Rebond des contacts du micro-interrupteur : validation des événements d'entrée du mécanisme
Blogue LEMA Électrique

Rebond des contacts du micro-interrupteur : validation des événements d'entrée du mécanisme

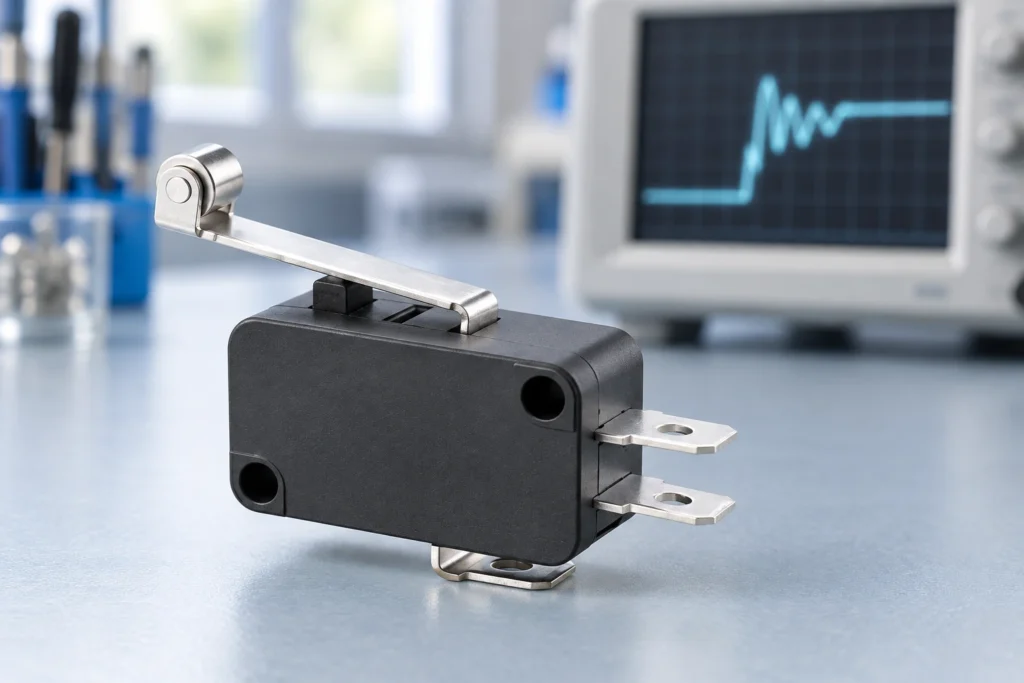
Micro switch contact bounce is a brief series of electrical transitions around a single mechanical switching event. A snap-action mechanism makes the change decisive, but it does not guarantee that a fast controller sees exactly one edge. For a roller-lever or plunger micro switch on an OEM machine, investigate both the contact signal and the motion that operates it. Then accept a stable state or a qualified event at the controller. A debounce delay alone cannot correct a cam that repeatedly crosses the operating point, an overloaded contact, or a damaged harness. This guide focuses on micro switches operated by mechanisms: rollers following cams, plungers touched by moving parts, and small levers detecting position. It addresses event validation, not a generic replacement procedure or a fixed debounce circuit. Start with the actual switch drawing, the controller input specification and a record of the machine movement. The aim is to reject unintended transitions without hiding a genuine position change. Separate one switching event from repeated mechanical actuation A useful first question is whether the actuator makes one controlled pass through the switch point. Contact bounce occurs during contact settling. Mechanical re-actuation occurs when the moving part repeatedly operates and releases the switch. Both can produce multiple edges, but they require different corrections. A loose roller bracket, oscillating linkage or cam dwelling near the release point can keep creating valid mechanical changes long after the first contact transition. The University of Washington Makeability Lab lesson on debouncing explains how moving electrical contacts can oscillate before settling. Use that principle to interpret a short transition cluster, while separately checking whether the machine motion continues to cross the switching boundary. Do not label every...

Lire la suite
Remplacement de l’interrupteur à bouton-poussoir : contacts et compatibilité avec le panneau
Blogue LEMA Électrique

Remplacement de l’interrupteur à bouton-poussoir : contacts et compatibilité avec le panneau

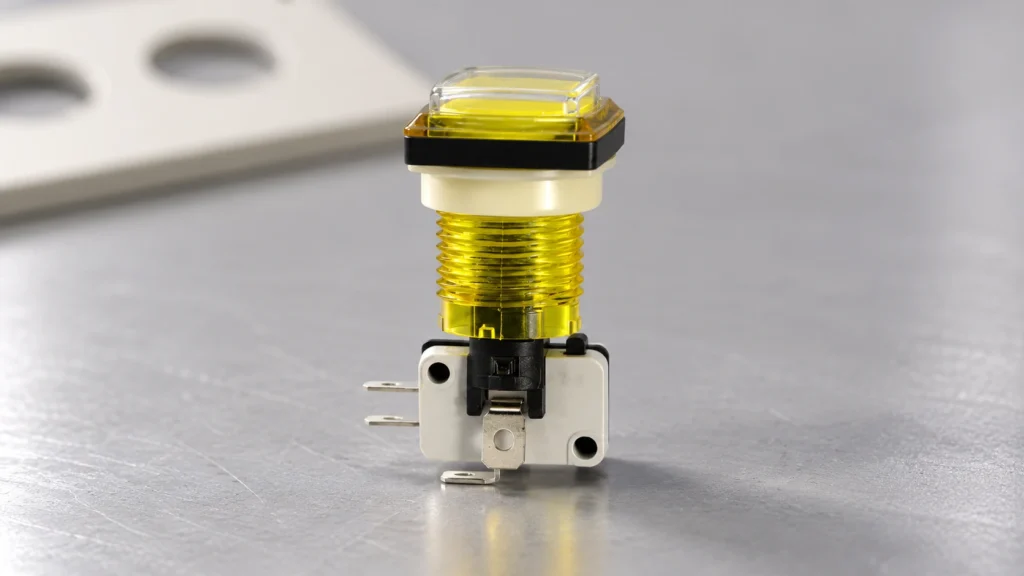
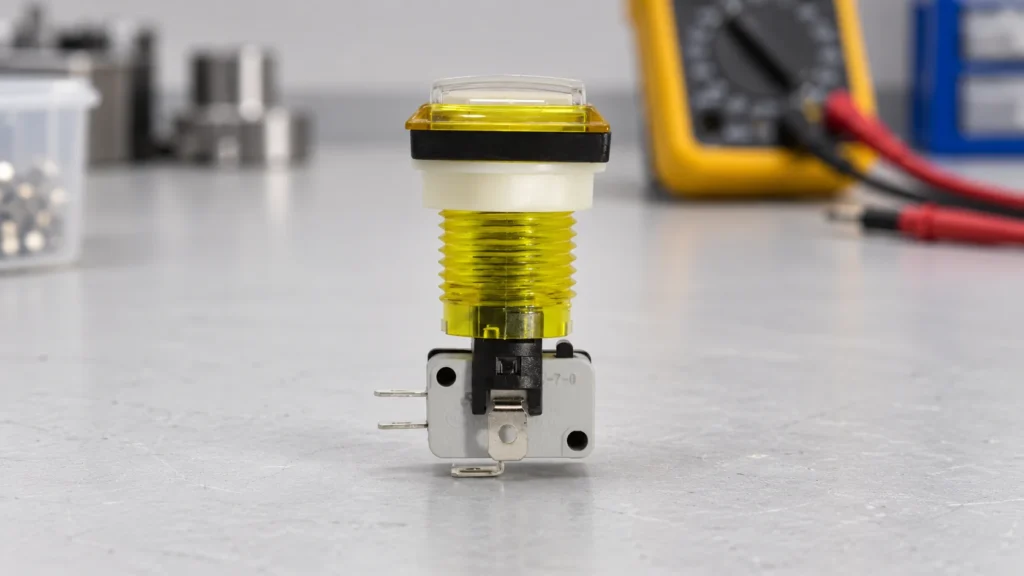
Replace the complete function, not only the visible button A push button switch replacement must preserve the original action, contact arrangement, panel fit, electrical duty and terminal system. If the button is illuminated, the indicator circuit also needs a separate comparison. A similar cap color or the same number of pins does not establish compatibility. Start with the equipment instructions and complete original order code, then compare a current drawing and contact diagram for the candidate. This guide focuses on equipment panel controls and OEM substitution checks; it does not authorize changes to emergency stops, safety interlocks or proprietary service assemblies. The LEMA push button switch range offers product families to review against an application specification. Product photographs can help identify external features, but they cannot prove a contact circuit, cutout dimension or approval. The replacement needs a documented comparison and a defined acceptance test before it enters service. The industrial push button selection guide provides the broader application framework. Use this replacement checklist to compare the original assembly and candidate against that specification, rather than choosing a new circuit function. Decide whether the actuator, contact assembly or entire unit needs replacement Confirm the fault before ordering parts. A jammed cap, damaged contact, loose terminal and failed indicator can produce different symptoms. Use the complementary push button troubleshooting guide to separate those faults. A wiring defect or incorrect control-input configuration will not be corrected by installing a new button. Some panel controls use separate actuator and contact blocks; others are supplied as an integrated assembly. Follow the manufacturer's service instructions. Do not assume contact blocks from different series fit together because their clips look similar. A mechanical attachment can appear...

Lire la suite
Remplacement d’un interrupteur à bascule : pôles, positions et caractéristiques nominales
Blogue LEMA Électrique

Remplacement d’un interrupteur à bascule : pôles, positions et caractéristiques nominales

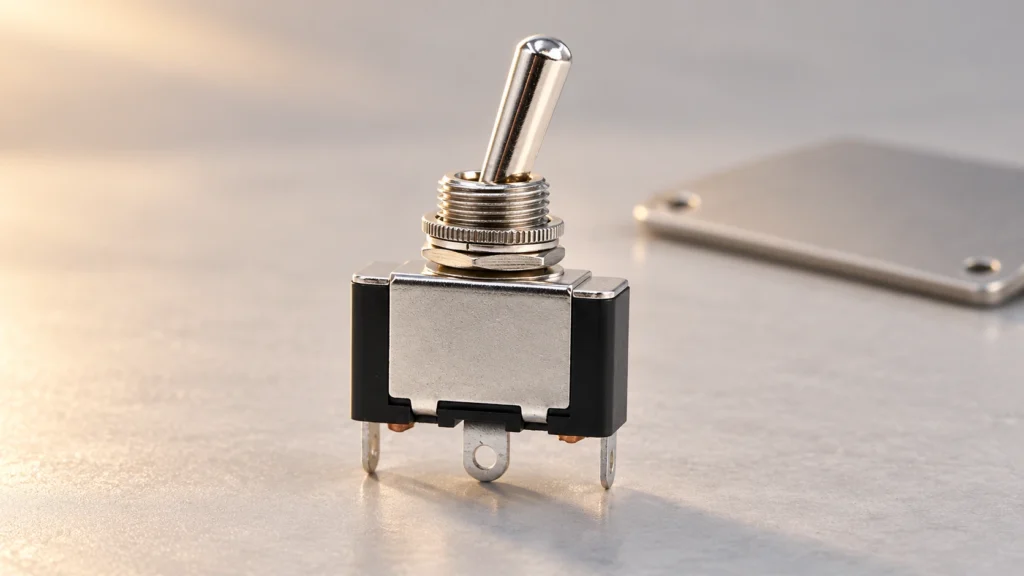
Preserve the original switching function A toggle switch replacement needs to match poles, throws, maintained or momentary action, contact ratings, panel mounting and terminal arrangement. The same number of pins or a similar metal lever does not establish interchangeability. Begin with the equipment circuit and original order code, build a contact-state table, and compare the candidate's current specification. For OEM equipment, a different part is a controlled substitution that requires functional validation. This guide focuses on panel-mounted equipment controls, including the LEMA toggle switch range, rather than household wall-switch wiring, musical-instrument modifications or vehicle-specific repairs. If the equipment manufacturer specifies an approved service part, use that instruction as the starting point. A generic selection checklist cannot override approval requirements or establish that an unlisted component is suitable. Preserve the original machine function and investigate why the old part failed before installing another switch. For the wider operating principle and selection context, see the toggle switch mechanism guide. For a termination comparison, use the solder, screw and quick-connect terminal guide. These references support the replacement comparison; the exact part drawing still controls acceptance. Document the old switch and its circuit Collect the complete switch markings, part number and any suffix. Photograph the actuator, panel mounting and terminal side after following the equipment isolation procedure. Note the orientation of the lever and any locating tab, keyed washer or anti-rotation feature. Record which position corresponds to the displayed equipment command and which circuits are connected in that position. Identify the connected load from the diagram. A toggle can carry load current directly, operate a relay coil or provide a controller input. Those roles impose different requirements. Document voltage, AC or DC, steady current...

Lire la suite
Remplacement du microrupteur : compatibilité en matière de forme, d’ajustement et de fonctionnement
Blogue LEMA Électrique

Remplacement du microrupteur : compatibilité en matière de forme, d’ajustement et de fonctionnement

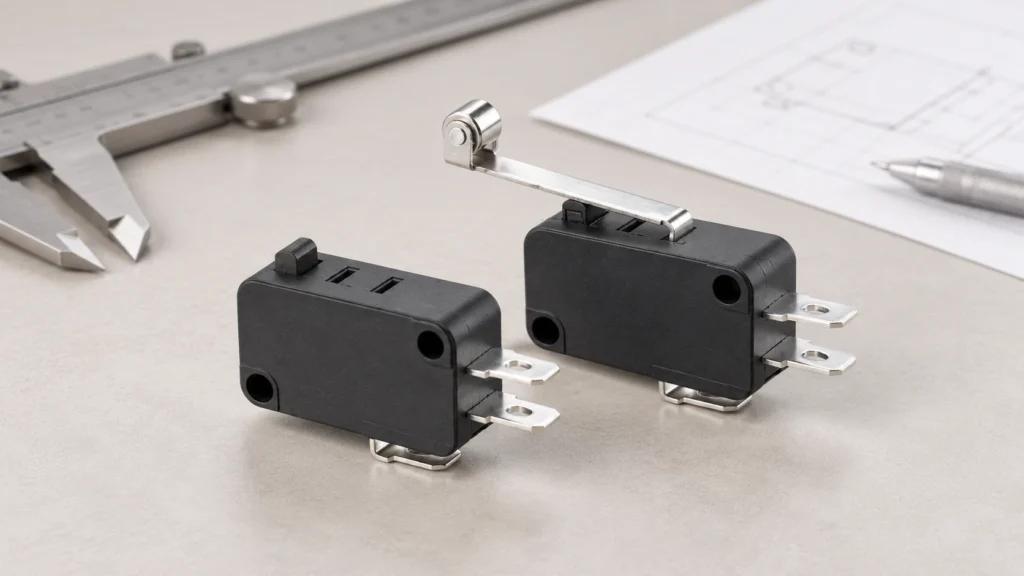
Match the replacement to the machine, not just the switch body A micro switch replacement must match the original contact function, mounting geometry, actuator movement, terminal arrangement and electrical duty. A switch that fits the screw holes can still change the operating point, reverse a control signal or fail prematurely under the connected load. Start with the equipment service instructions and the complete original part number, then compare the proposed replacement against a current drawing and rating sheet. For industrial and appliance assemblies, treat an undocumented substitution as an engineering change requiring validation. This guide explains how to build that comparison without assuming that similar-looking switches are interchangeable. The scope here is a mechanically actuated snap-action component, such as the models in the LEMA micro switch range. It does not provide an approval to replace a machine safety device, a sealed appliance assembly or a manufacturer's proprietary service part. Those cases may require an exact approved component or a complete assembly. Do not bypass an interlock to keep equipment running while a replacement is being sourced. Record the original installation before removing anything Identify the equipment, assembly revision and original switch order code. Photograph the switch from the actuator, mounting and terminal sides, with the circuit isolated. Record the markings exactly, including voltage, current, temperature codes and any separate load-specific ratings. A supplier logo or a partial family name is not enough: terminals, actuators and contact materials can vary within one product family. Record how the actuator contacts the moving mechanism. Note whether a cam touches a roller, a bracket presses a plunger, or a door deflects a lever. Include the normal rest position and the position at which the...

Lire la suite
Dépannage des interrupteurs à bouton-poussoir : contacts, câblage et entrées de commande
Blogue LEMA Électrique

Dépannage des interrupteurs à bouton-poussoir : contacts, câblage et entrées de commande

Push button switch troubleshooting works best when you separate four possible faults: the actuator, the electrical contacts, the wiring, and the receiving control circuit. A button that feels normal can still have a bad connection; a working contact can still send a signal that the machine ignores. Begin with the circuit drawing and the expected released and pressed states, then isolate the machine before inspecting or measuring the switch. This guide helps industrial equipment builders and maintenance teams locate the fault without assuming that every failure requires a new button. The examples concern ordinary control inputs. Emergency stops, guard circuits and other protective functions require their own approved procedures and validation. Never bypass a protective device to keep production running. Record the symptom before moving any wires Write down exactly what fails: no response, delayed response, several responses from one press, a button that stays down, or an indicator lamp that stops working. Also record whether the failure occurs after cleaning, after vibration, at startup, or only after the equipment has been running. These conditions help distinguish a damaged component from installation stress or a problem elsewhere in the circuit. Identify the switch order code, drawing revision, terminal designations, control voltage, connected load and intended action. A maintained button should remain in its selected state; a momentary button should return when released. Mistaking one for the other produces a false diagnosis. Compare the installed device with the approved bill of materials rather than relying on color or appearance. Use the industrial push button selection guide to review the original application requirements. Troubleshooting should confirm those requirements, not quietly change them. Isolate energy before mechanical or continuity checks Stop the equipment...

Lire la suite
Comment tester une pédale de commande : vérification isolée des contacts et du câble
Blogue LEMA Électrique

Comment tester une pédale de commande : vérification isolée des contacts et du câble

To test a foot switch, identify its intended contact function, safely isolate and disconnect it from the equipment, and check the specified contact pair in both released and operated states. A multimeter can help screen an ordinary mechanical switch for an open circuit or an inconsistent connection. It cannot establish a pedal's load rating, safety approval or suitability for a particular machine. This guide covers a repeatable inspection record for industrial foot controls, including the pedal, cable and connector, so you can distinguish a switch fault from a harness or controller problem. Do not apply this procedure unchanged to electronic, variable-speed, medical or safety-rated pedals. Their circuits and verification requirements may be different. Follow the exact equipment and pedal documentation. Identify the device before choosing a test A foot-operated device may be a simple contact switch, a potentiometer, an electronic sensor or a multi-stage control. Some pedal assemblies have several independent contacts. Others send a coded signal to a controller. Testing every pair of wires as though it were a dry contact can produce misleading results or damage an electronic assembly. Read the order code and terminal diagram. Record whether the action is momentary or maintained, whether the intended contact is normally open or normally closed, and whether the connector contains additional circuits. Do not infer function from a connector's shape, wire colors or the appearance of a similar pedal. The relevant drawing should describe the particular order code being tested. The industrial electric foot switch selection guide explains the wider specification questions. This test guide focuses on locating an existing fault without changing those requirements. Prepare an isolated, controlled test Follow the site's energy-control procedure and verify the safe...

Lire la suite
Pédale de commande pour pompe : fonctionnement, interface et liste de contrôle OEM
Blogue LEMA Électrique

Pédale de commande pour pompe : fonctionnement, interface et liste de contrôle OEM

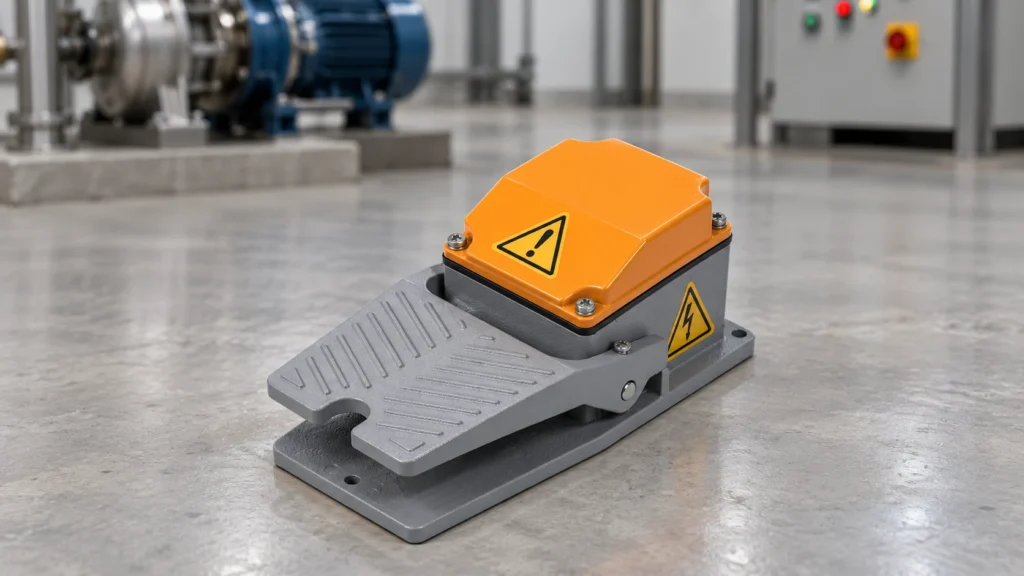
A foot switch for a pump should normally be selected as part of the pump's control system: define the required pedal action, identify the receiving input or switching device, and verify the complete electrical duty before connecting a load. A momentary pedal can request pumping while held; a maintained pedal can request a continuing state. Neither action automatically provides safe stopping, accurate dosing or protection against unexpected restart. This guide gives equipment builders a practical specification and validation checklist for electrical foot controls used around pumping operations. It concerns an electrical command device, not a pedal-operated mechanical pump or a pneumatic valve. An ordinary industrial pedal must not be assumed suitable for medical treatment, hazardous fluids or a safety function without the applicable system assessment. Describe the pumping task before choosing the pedal Start with the operator's task. Does the operator need both hands to position a container, hold a hose or align a fixture? Is the command intended to run the pump continuously, request a timed cycle or permit a process only while the pedal is held? These are different control functions. The same physical pedal can produce very different machine behavior depending on the receiving circuit. Record the fluid, pump type, location and consequences of an unintended command. Include the pressure and motion hazards, splash exposure, nearby moving equipment and the operator's working position. A hands-free command can be convenient while introducing a new risk of accidental operation. Decide how the overall machine prevents that event before specifying a pedal's color or enclosure material. The industrial foot switch selection guide provides the broader component-selection framework. The pump-specific questions below should become part of the equipment specification and acceptance...

Lire la suite
Limit Switch Head Types and Adjustable Actuator Positions
Blogue LEMA Électrique

Limit Switch Head Types and Adjustable Actuator Positions

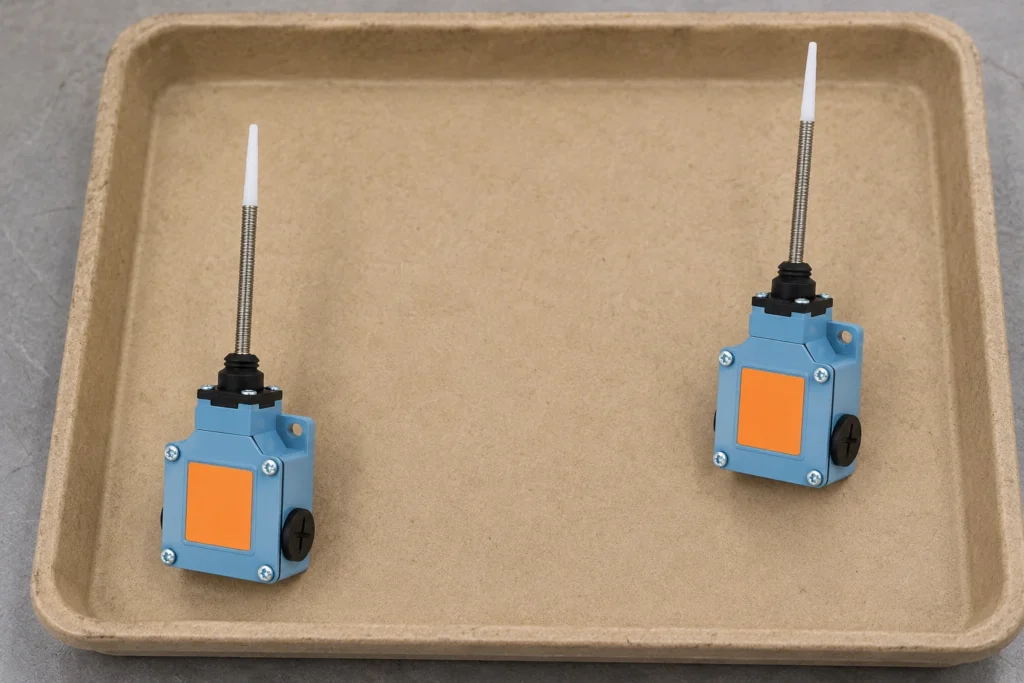
Limit switch heads should be chosen for the target motion, permitted approach direction and operating travel of the exact switch family. Roller levers, plungers, rods and other actuator forms are not interchangeable simply because they detect position. Some constructions allow a head to be repositioned under a defined procedure; others do not. Confirm the complete head and body combination, orientation options and instructions before changing an installed switch.This guide focuses on head selection and orientation for mechanical position switches. It complements the broad actuator-types and mounting guides, rather than giving universal instructions for rotating any head. LEMA LZ1 switch images are the real product reference; their external appearance does not prove field interchangeability with another series. Separate the head from the complete switch identity A position switch assembly includes the body, contact arrangement, head, actuator and mounting. A replacement head must match the relevant family and approved combination. Similar screw patterns or housing shapes do not prove that the internal operating relationship, sealing or travel is correct. Order and inspect the complete identified construction.Record the body and head codes where the maker provides them. If the head is not offered separately or no approved interchange information exists, do not assume it is a service part. Ask for the complete switch option instead. This avoids substituting a physically attachable head that changes the electrical or mechanical operation without an established acceptance basis. Describe the target approach in three dimensions Identify where the moving target contacts the actuator and how it approaches, passes and leaves. A roller lever can suit a cam profile, while a plunger may suit a controlled pressing direction. A rod or flexible actuator may detect movement over a...

Lire la suite